How to Prepare for Interior Photography
Over the last decade we have had the opportunity to photograph amazing interior spaces of all shapes and sizes. We love capturing the narrative of a space and collaborating with clients to show it in it’s best light. From homes to restaurants, hotels to office spaces, we’ve shot it all and have come to discover some handy tips and tricks that will elevate your space and lead to gorgeous images that help your project get published, win awards, and stun potential clients!
Consider Deadlines, Seasons, & Light
The important thing to remember is that any preparation done beforehand is going to save a lot of time (and we all know ⌚= 💰). Before you start preparing your space for a shoot there are questions that need answers to ensure the final images you receive are the cream of the crop. The first questions we ask partners are about priority deadlines.

When do you need the final IMages by?

Are There Award Submission Deadlines?

Are there Publishing Deadlines to meet?

When are the perfect conditions?
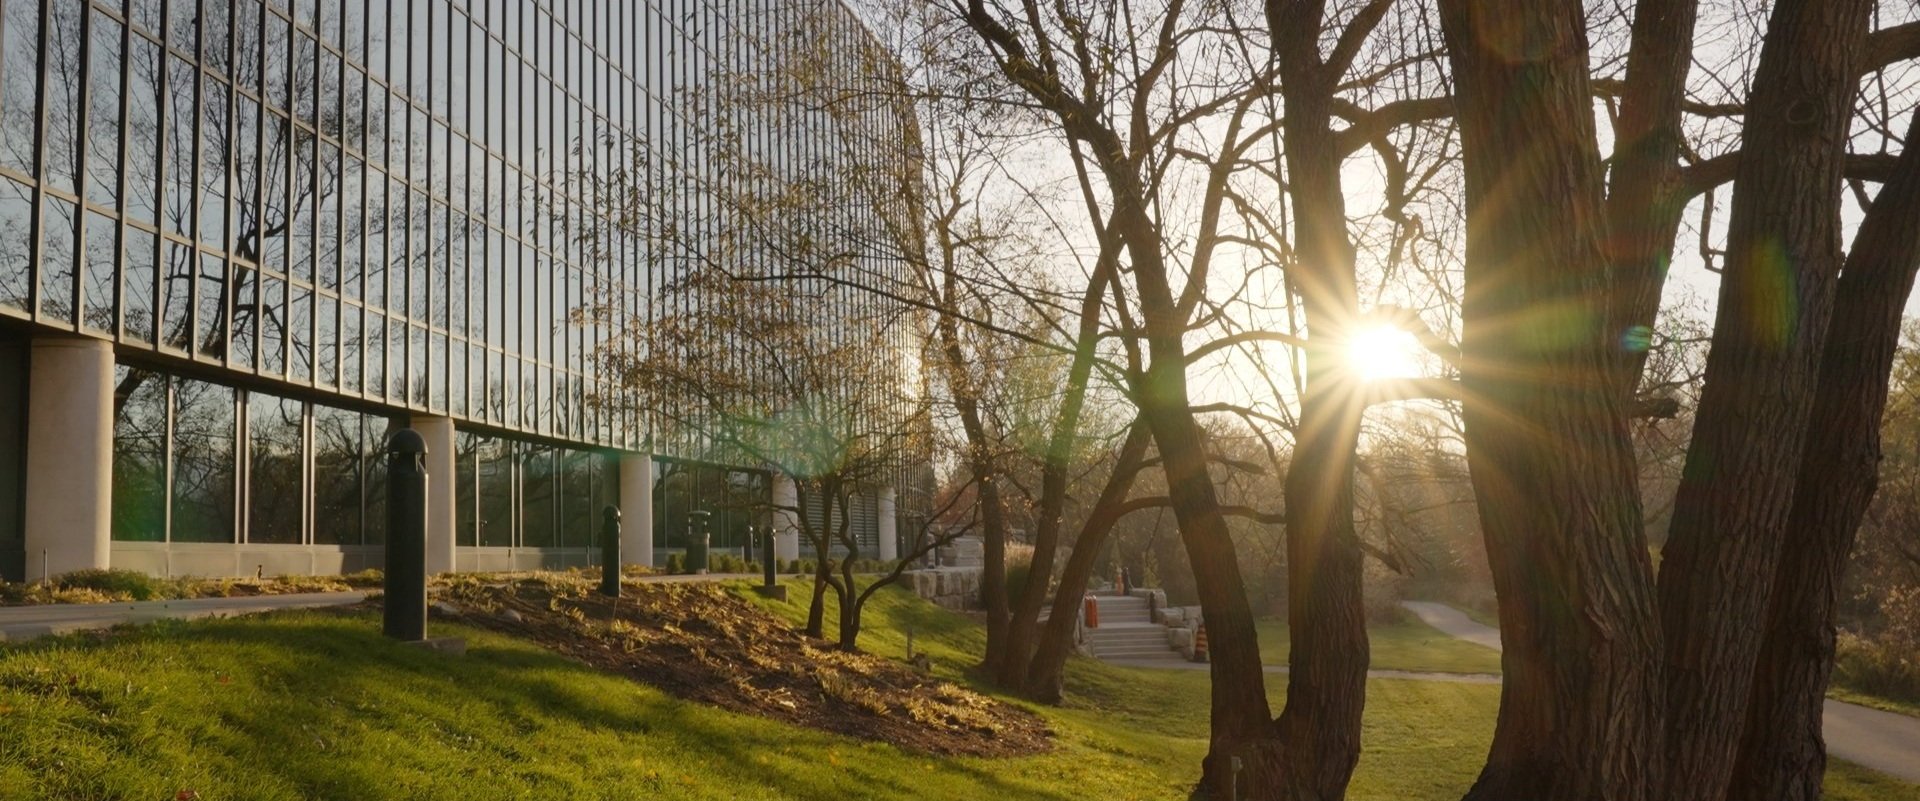
If there is some flexibility in the shoot time, it’s worth considering if there is a particular season that is best to capture your project. We’re curious about the surroundings that make your space truly unique and add to the story. Is it important to have snowy or sunny views outside? Is there landscaping that hasn’t grown-in yet? Is there a time that the space will no longer be accessible? For example, when photographing hospitals or other secure spaces there is typically a slim shoot window before the space becomes inaccessible.
There are also certain times you should avoid shooting such as when your space may be filled with holiday decor or at a time of highest earning potential. We don’t want to take away from your peak operating hours.
Speaking of peak times, that brings us to the light in your space - depending on the time of year, time of day and project plans, natural light may play a huge role in your space and needs to be considered. For example, there is less natural light during winter months and that means less time to shoot with it. On the flip side, if natural light is not a key element or is only important in a couple rooms we can shoot at almost any time which makes access and scheduling a lot easier.
Access, Stakeholders, & Shoot Schedule
Navigating access to a space can be effortless or a whole choreographed dance in itself. Interior shoots can vary from a few hours to several days. However, our schedule is often bound to limited access. so before we start discussing the scope, we should have an idea of how easy and flexible access to the space is.

How much time do we have in the space?

Are there key stakeholders that need to be notified?

Do we need special permission to shoot in the space?
All of these can impact the scope of the shoot, how many days are needed to shoot, and the timing of the day. Often as an interior space is approaching completion, competing services need access. Where possible, all key stakeholders should be notified and informed of required needs and what will be happening during photography. Knowing is half the battle and stepping on a key contact’s toes can quickly halt a shoot.
Whenever possible, we also recommend doing an on-site scouting visit. During scouting we walk through the space to plan our shots and day of schedule. That way, when we arrive on shoot day, we know exactly what we’re diving into and any potential issues have been flagged ahead of time. Now that the major questions have been tackled and the shoot has been scheduled, it’s time to prep the space for the big day.
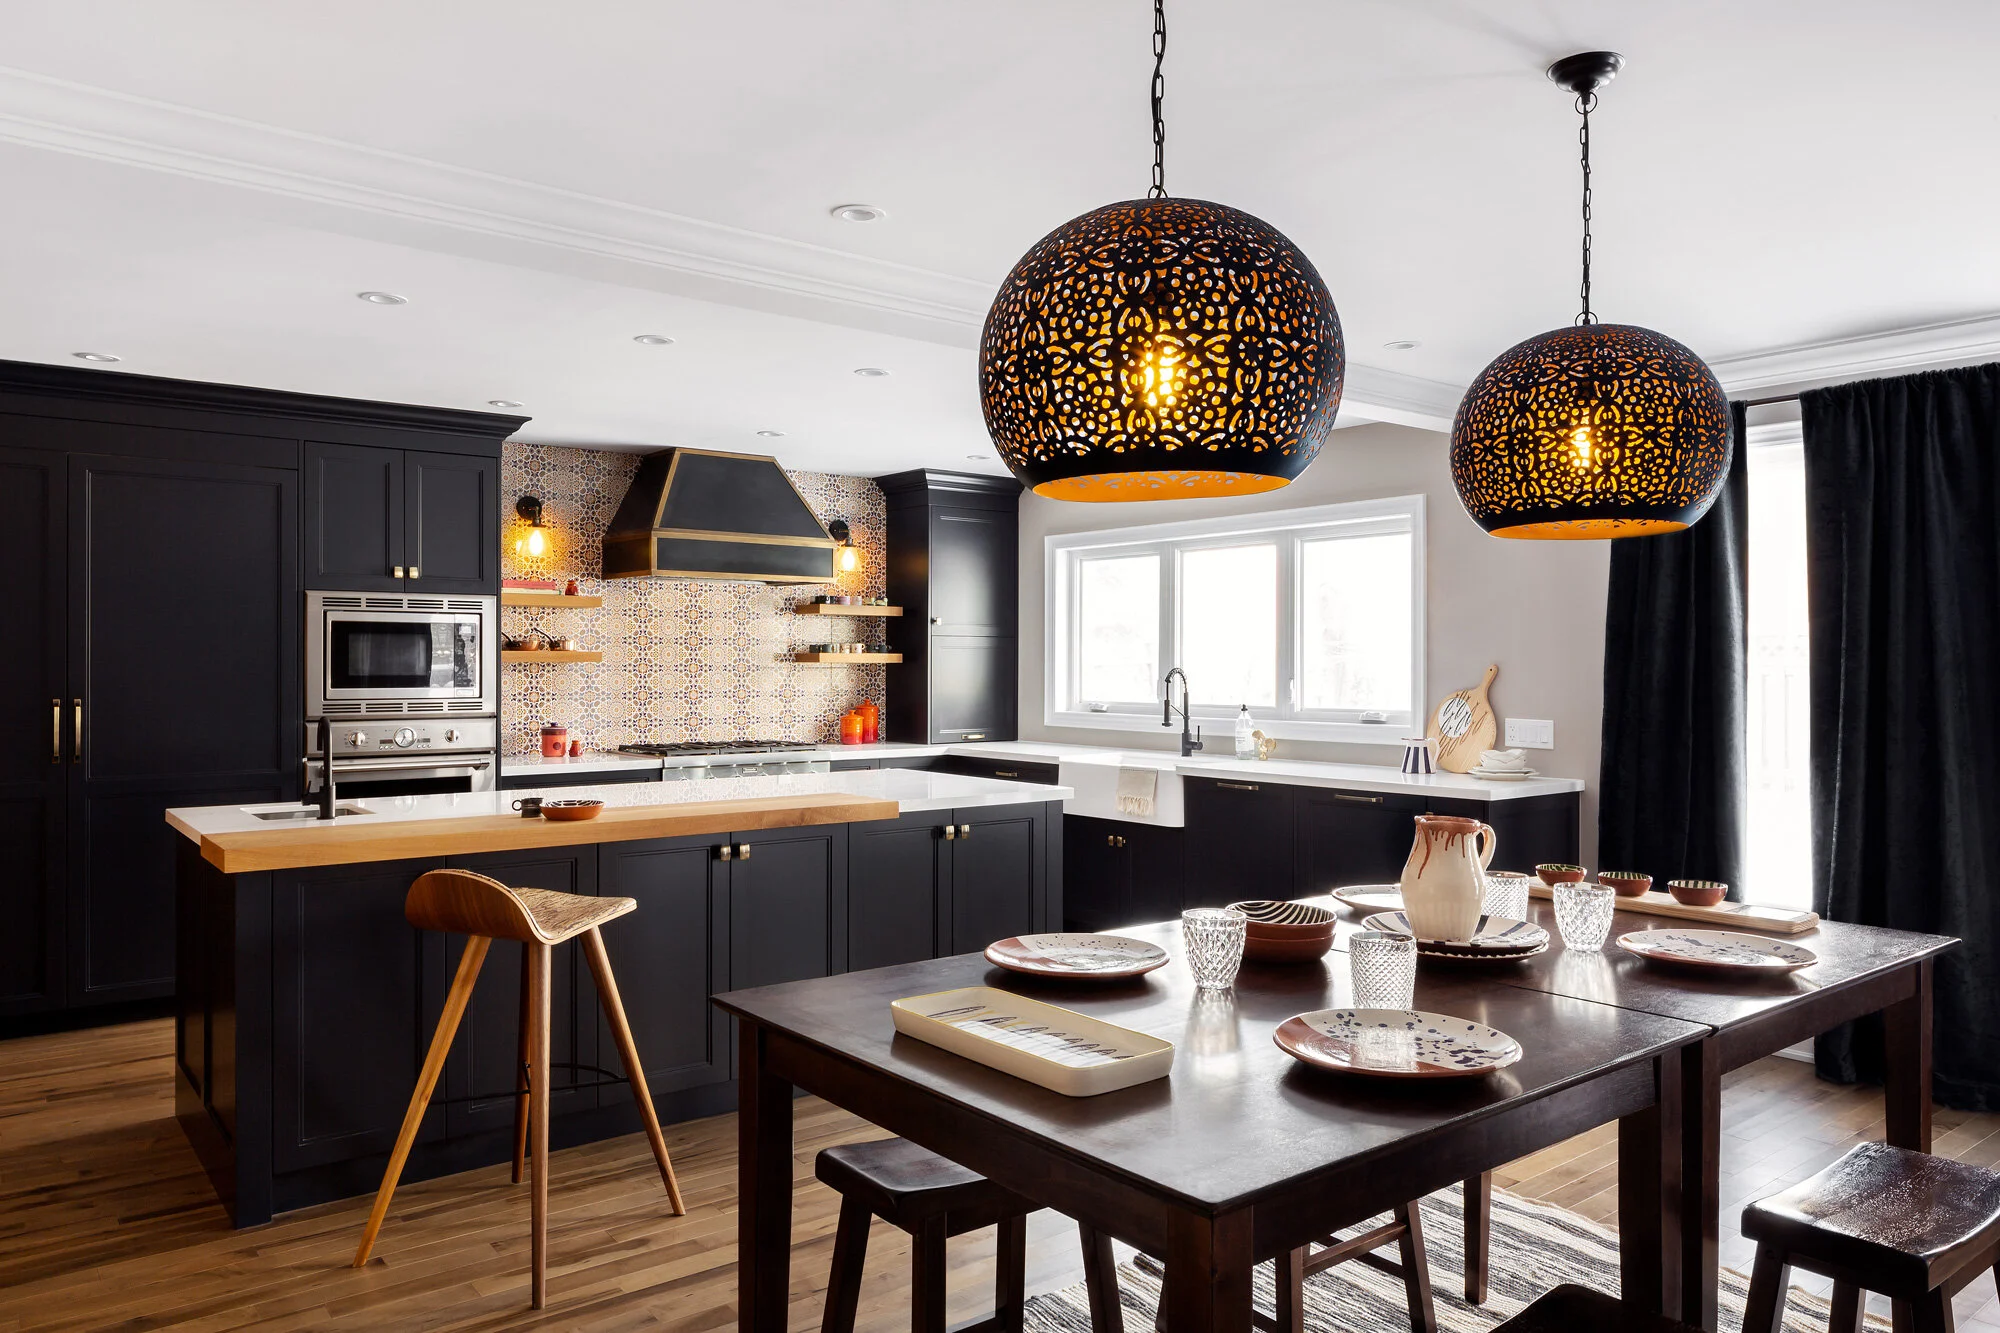
Get Squeaky Clean
We can’t stress this enough, getting things spick and span is of the utmost importance. All the smudges and dust will appear in the pictures and we don’t want to eat up valuable shoot time cleaning and adding to the retouching hours. This is the part where putting in the prep will save you money in the end. Here are the basic places that should get cleaned before the shoot:

Surfaces - Have the space fully cleaned, in particular all windows should be washed/ Windexed, all fixtures and surfaces wiped down, carpets vacuumed and floors cleaned.
Light Bulbs - Ensure all bulbs are functioning and are the same colour temperature. Odd bulbs mess with the colour balance of the images and increases retouching work.
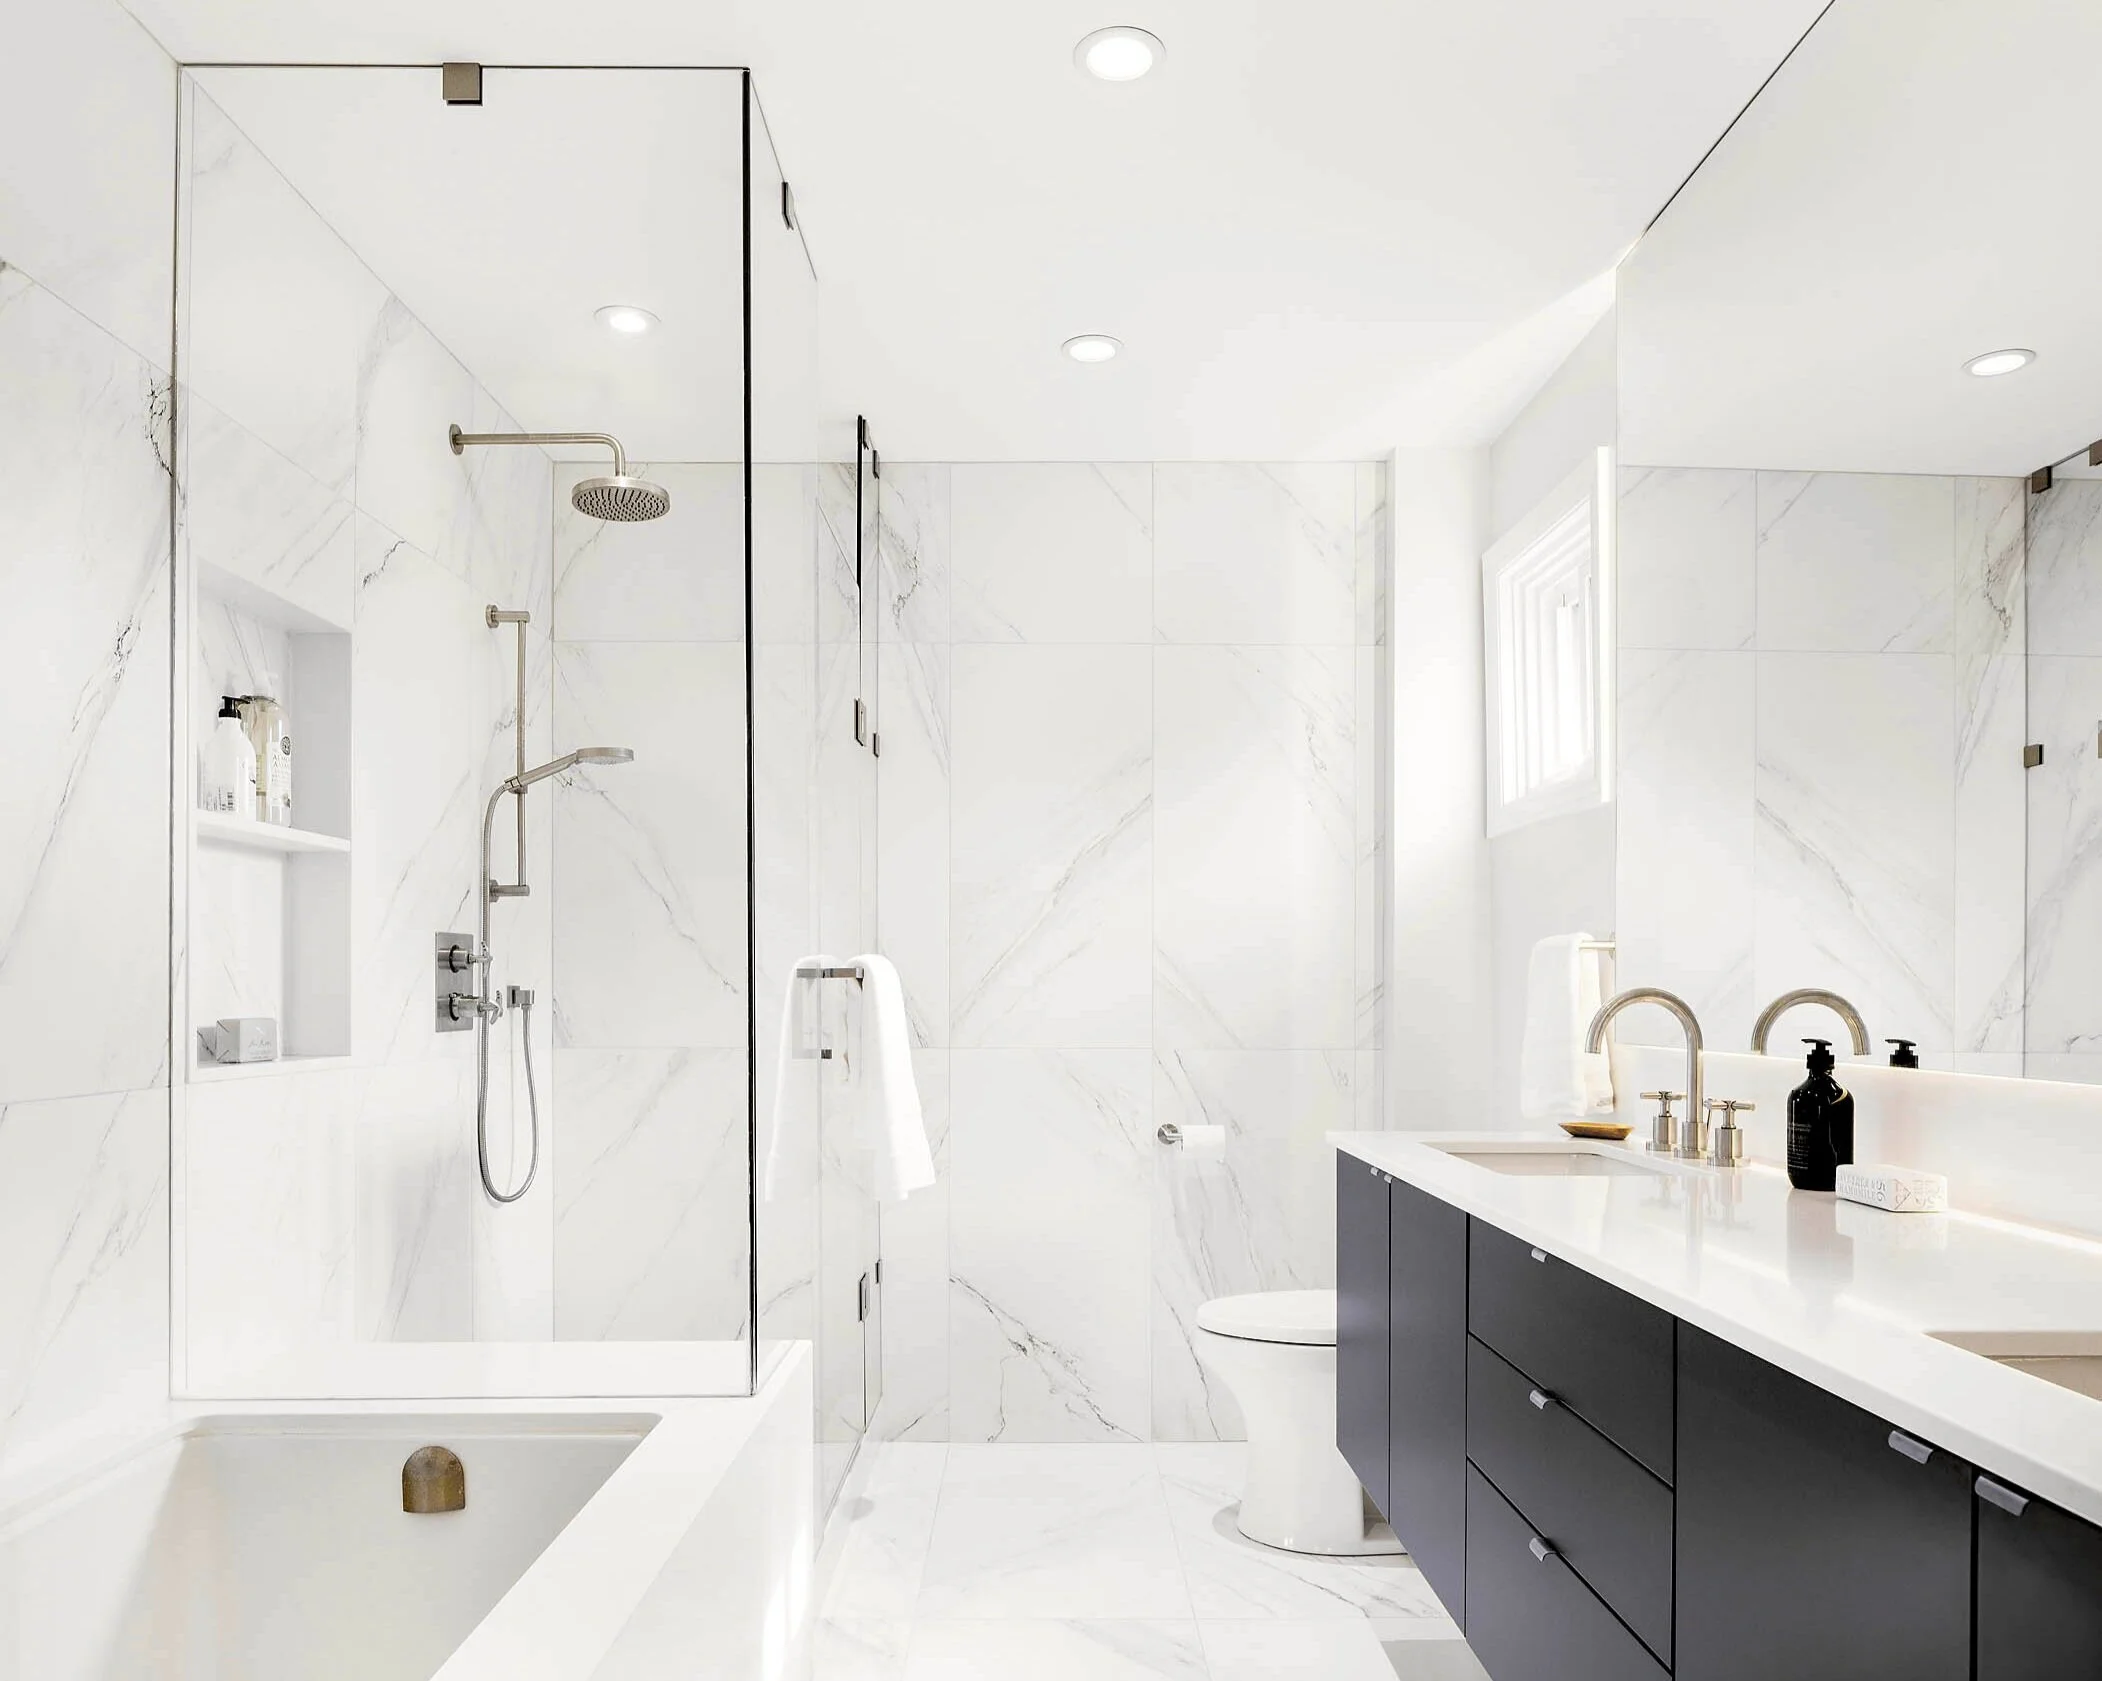
Declutter the Space - for a store that means limiting items on the racks and hiding price tags, in office spaces there shouldn’t be too many clutter on desks.

Set the Stage
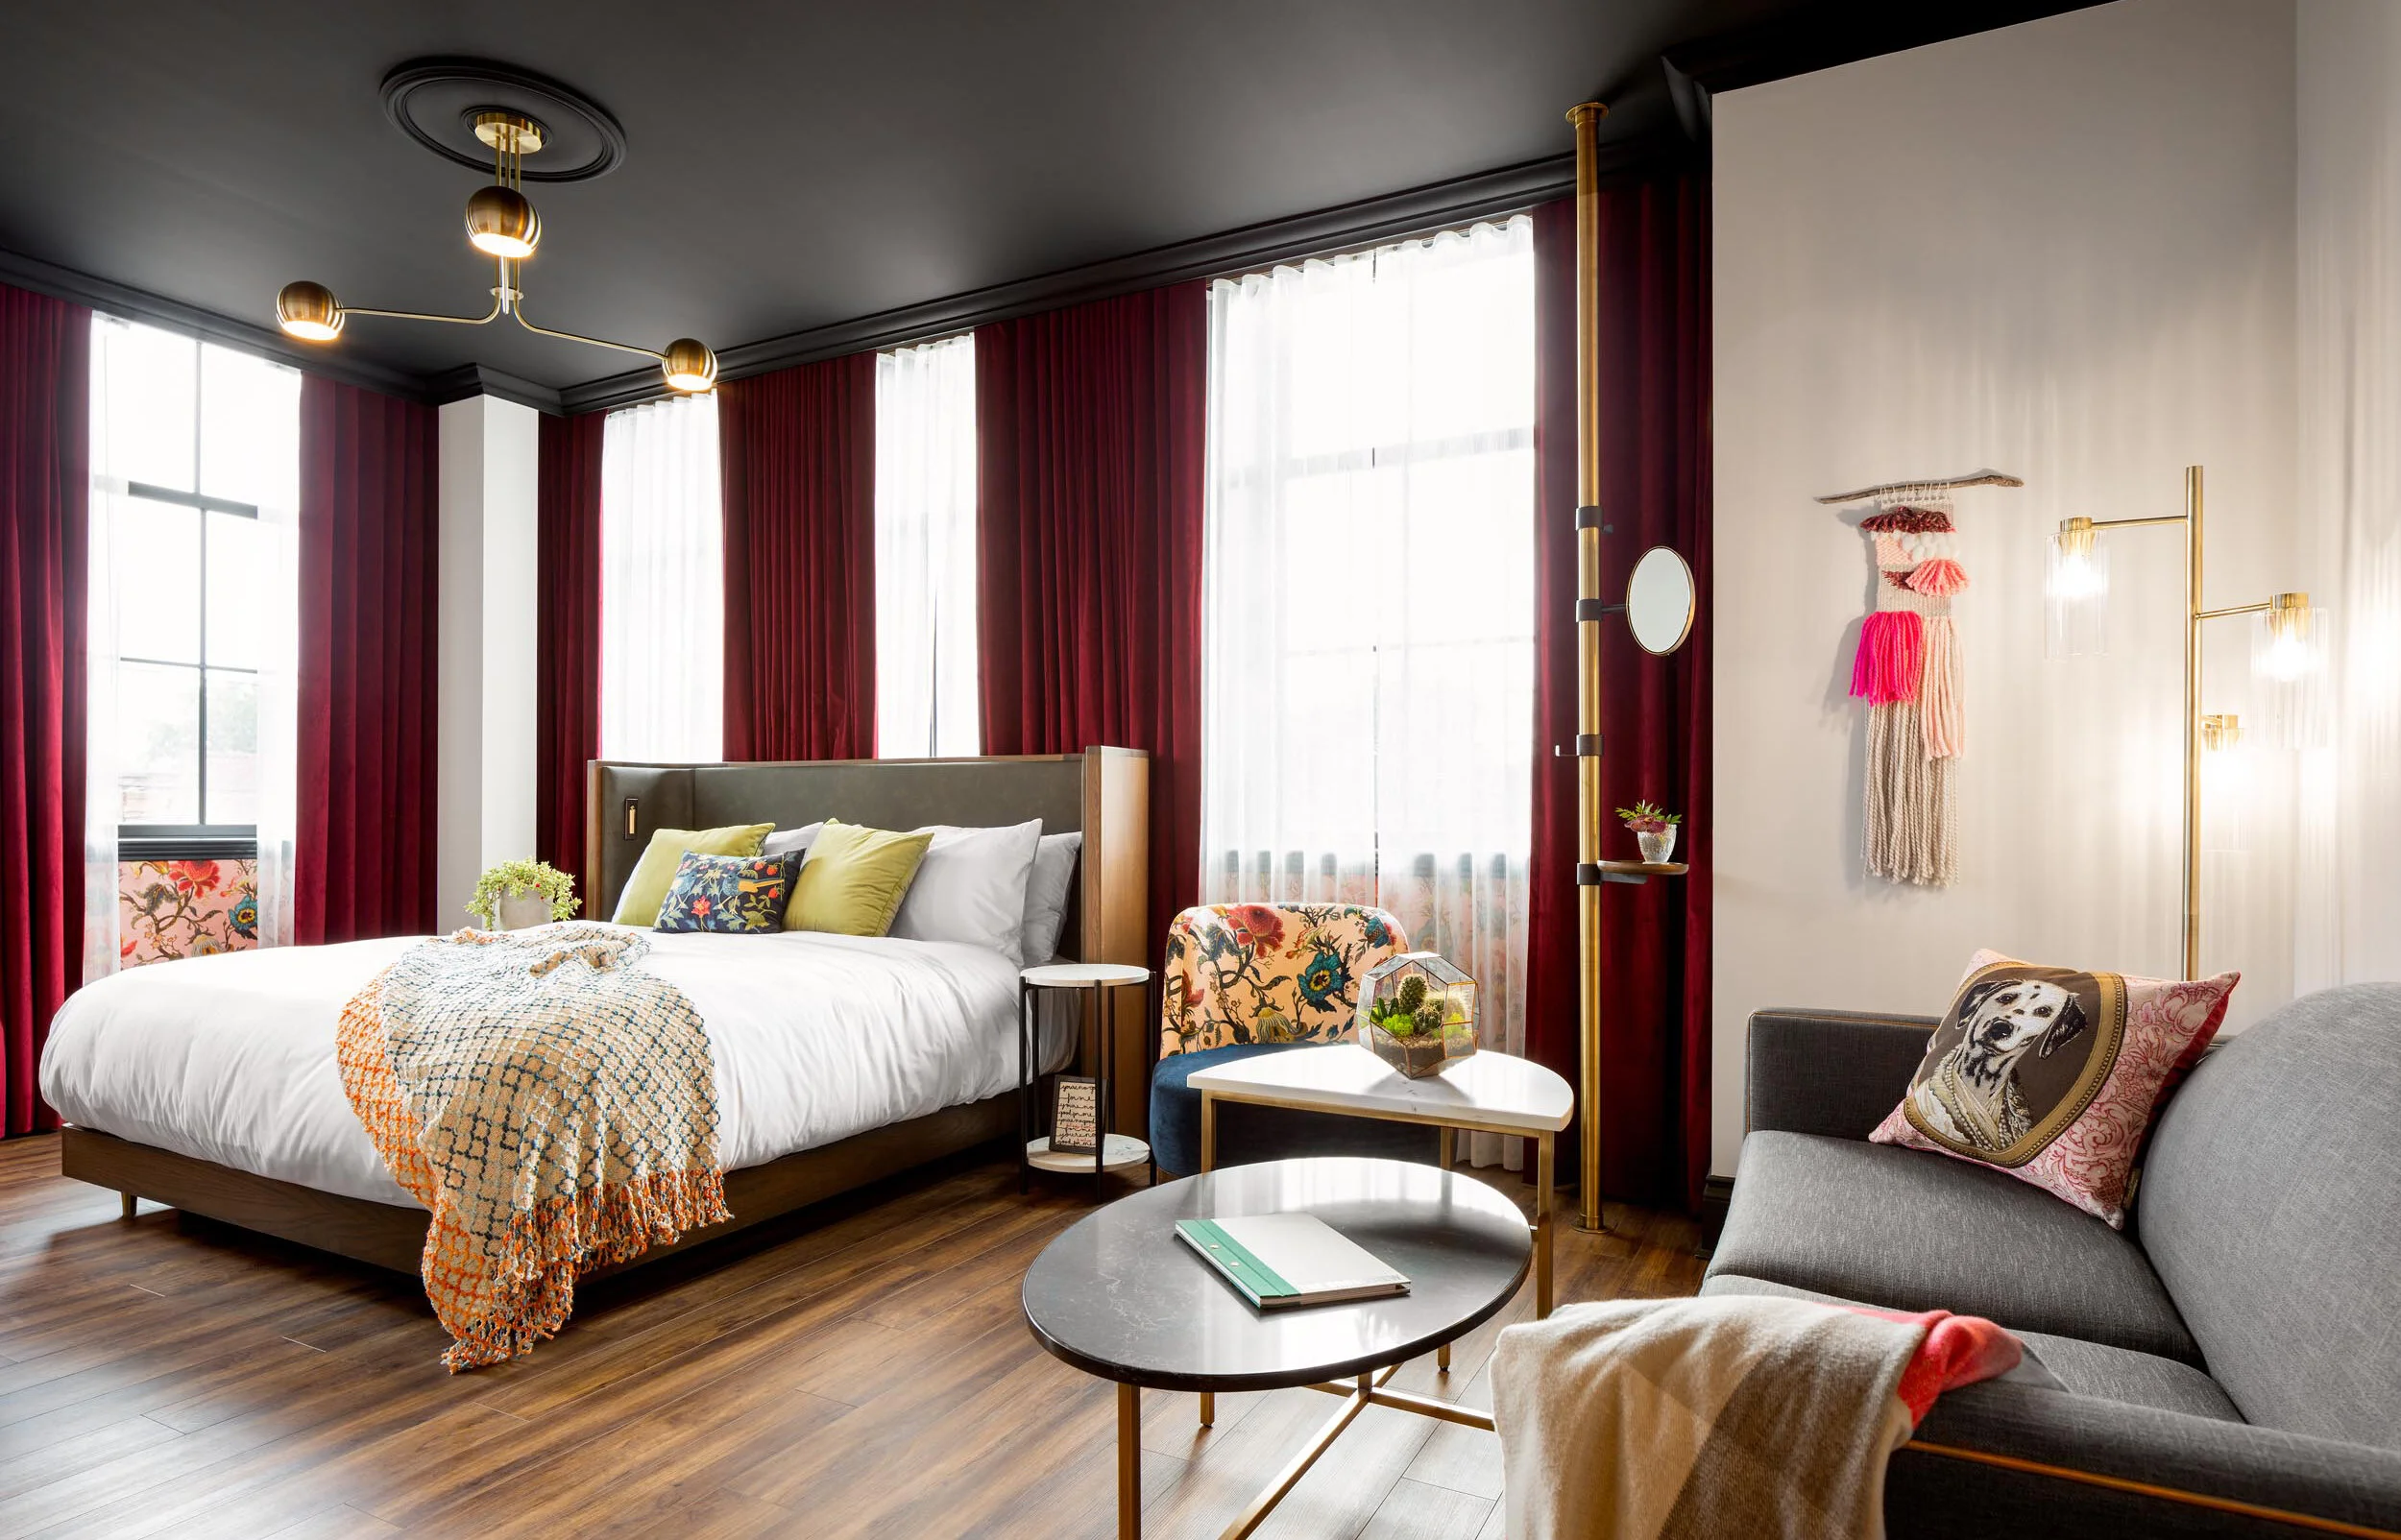
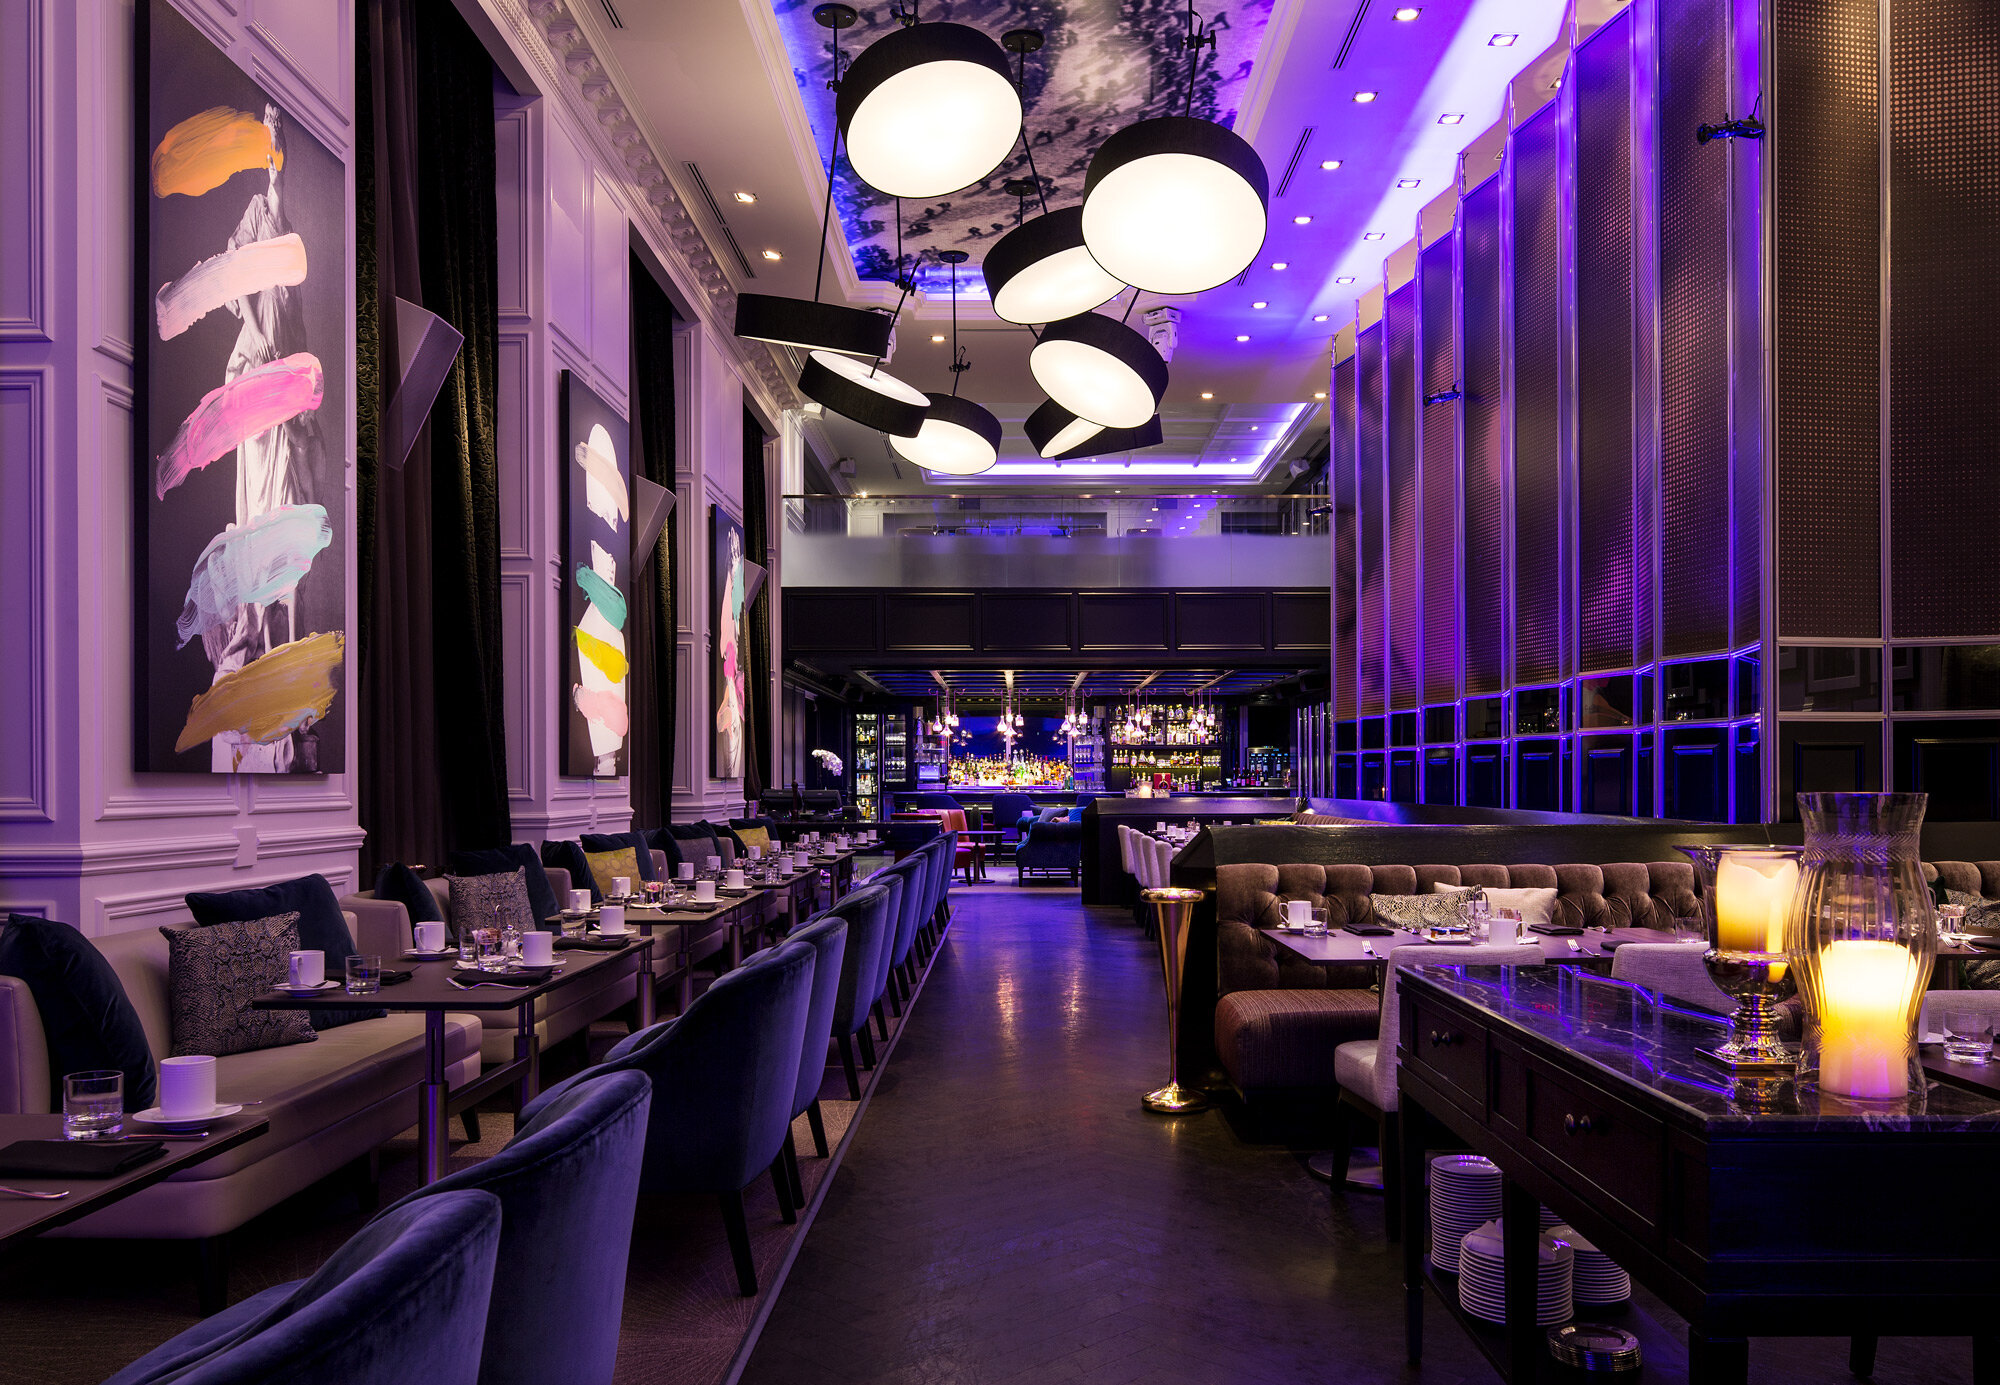
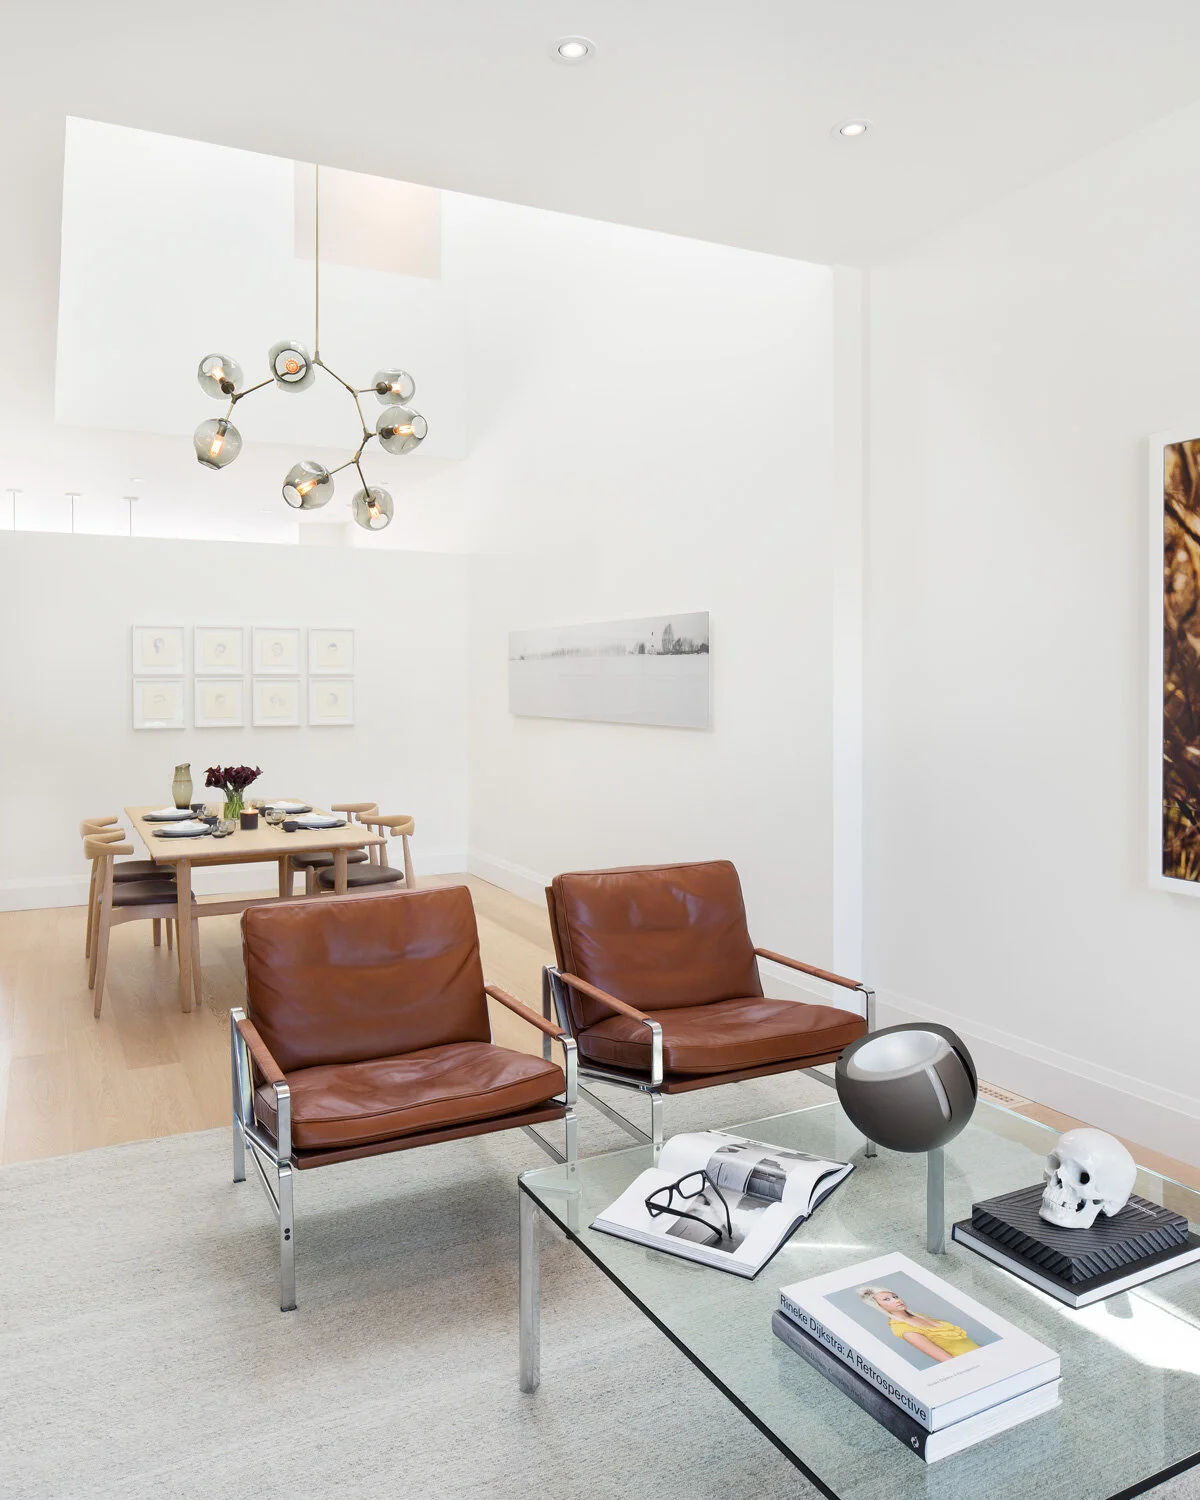
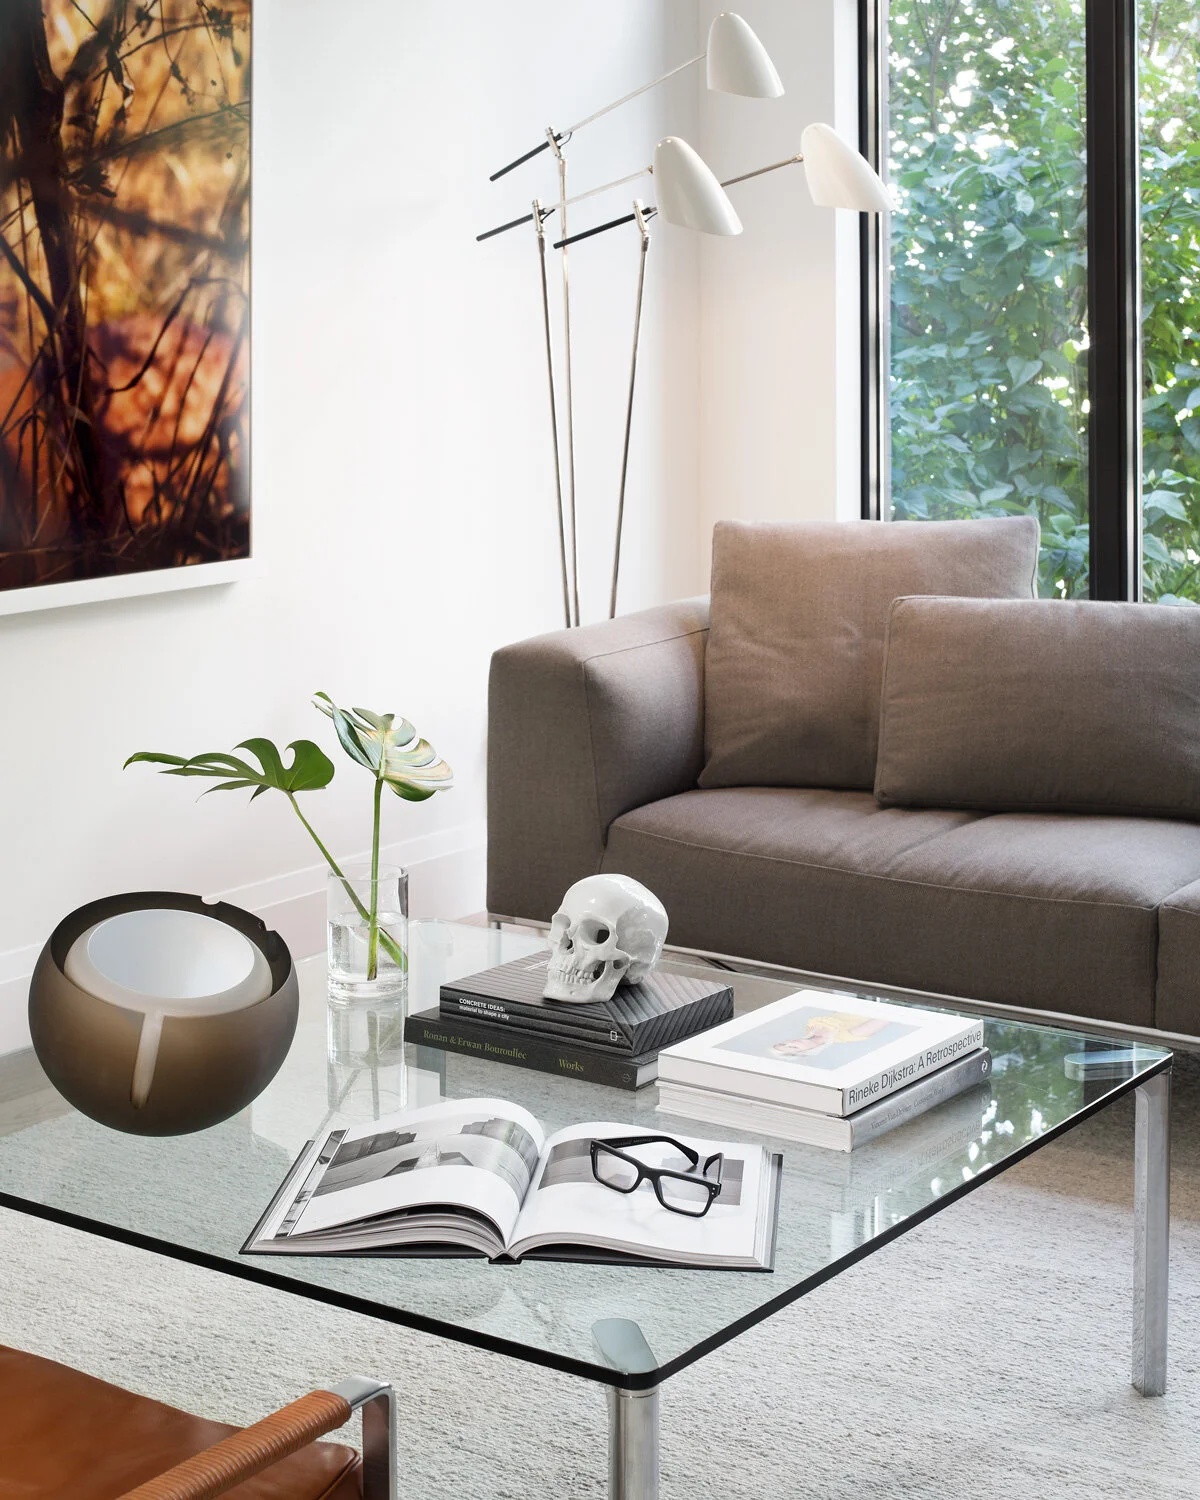
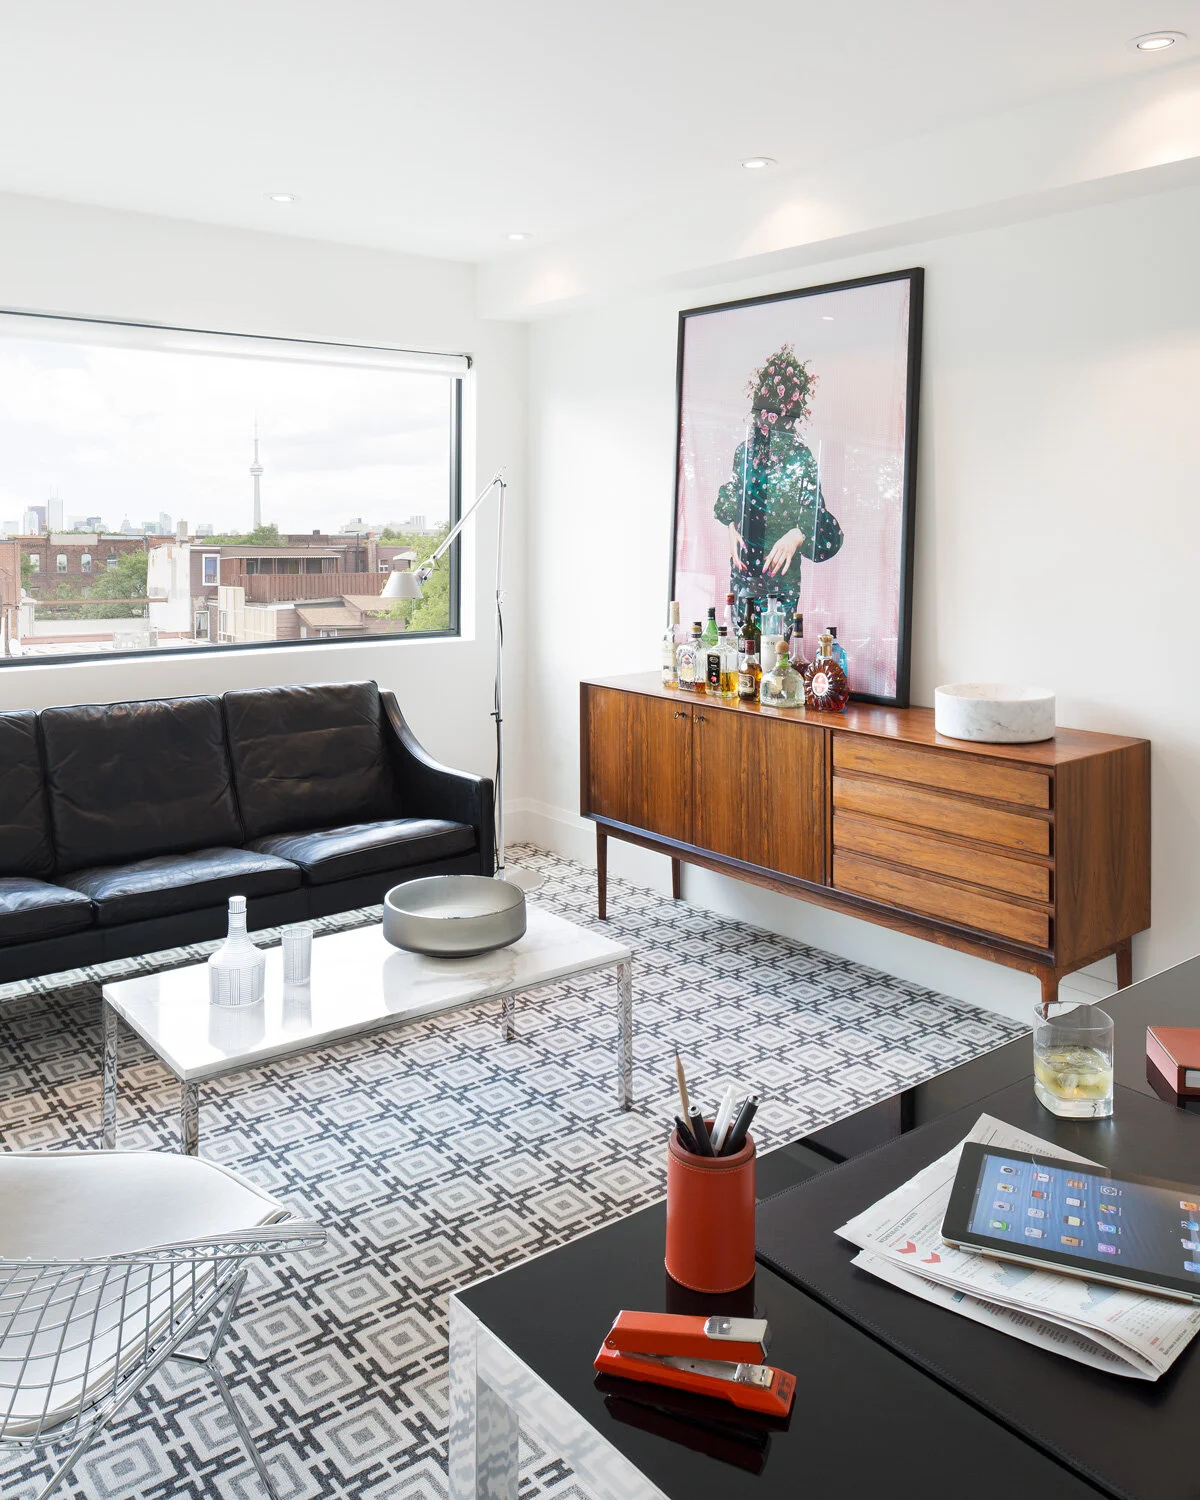
After the cleaning has been done it’s time to talk about bringing items in to set the scenes. It seems crazy after decluttering but this is where we chat about staging. Depending on your needs, you may want to bring in a few items to breath life into the space or have it professionally staged to kick it up another level. If possible, any large scale staging should be done the day ahead so that it doesn’t eat into shoot time. And remember that we’ll also need to plan time to get everything back in order once the shoot is done. Check out these easy ways to breath life into your space below.
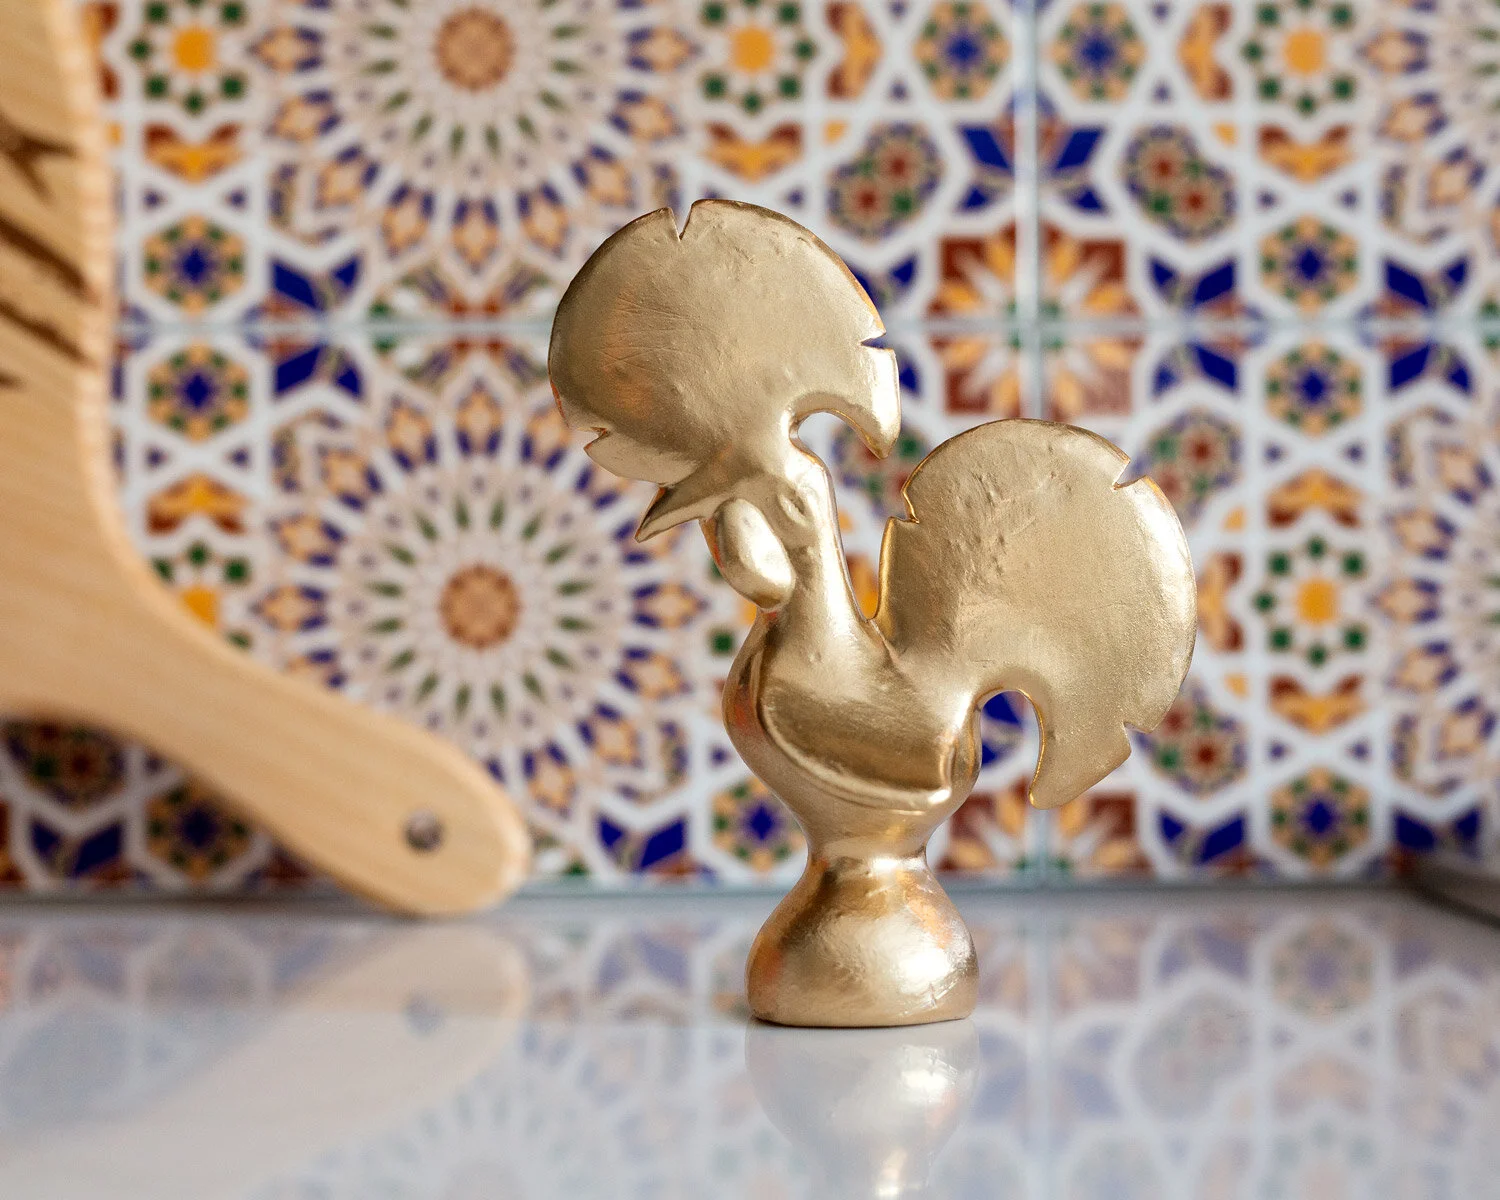
Small Items - Little things like fresh flowers, house plants, candles, magazines, breathe life into a space and hint at its use.
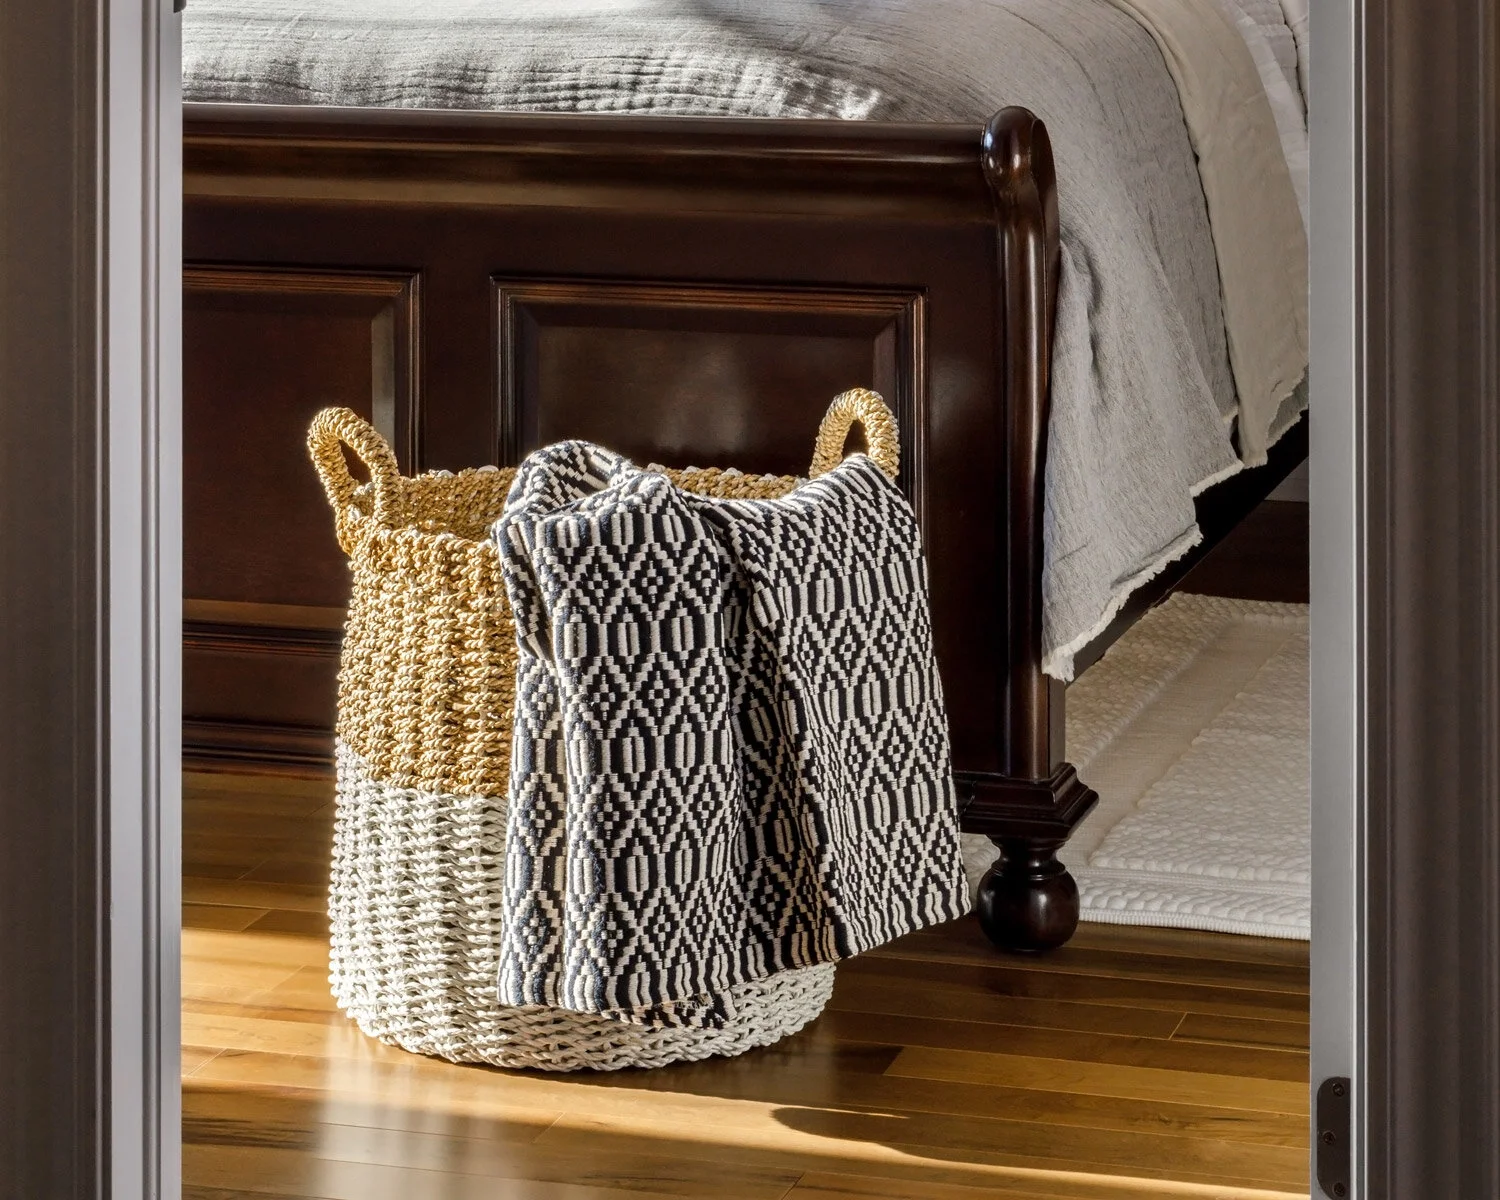
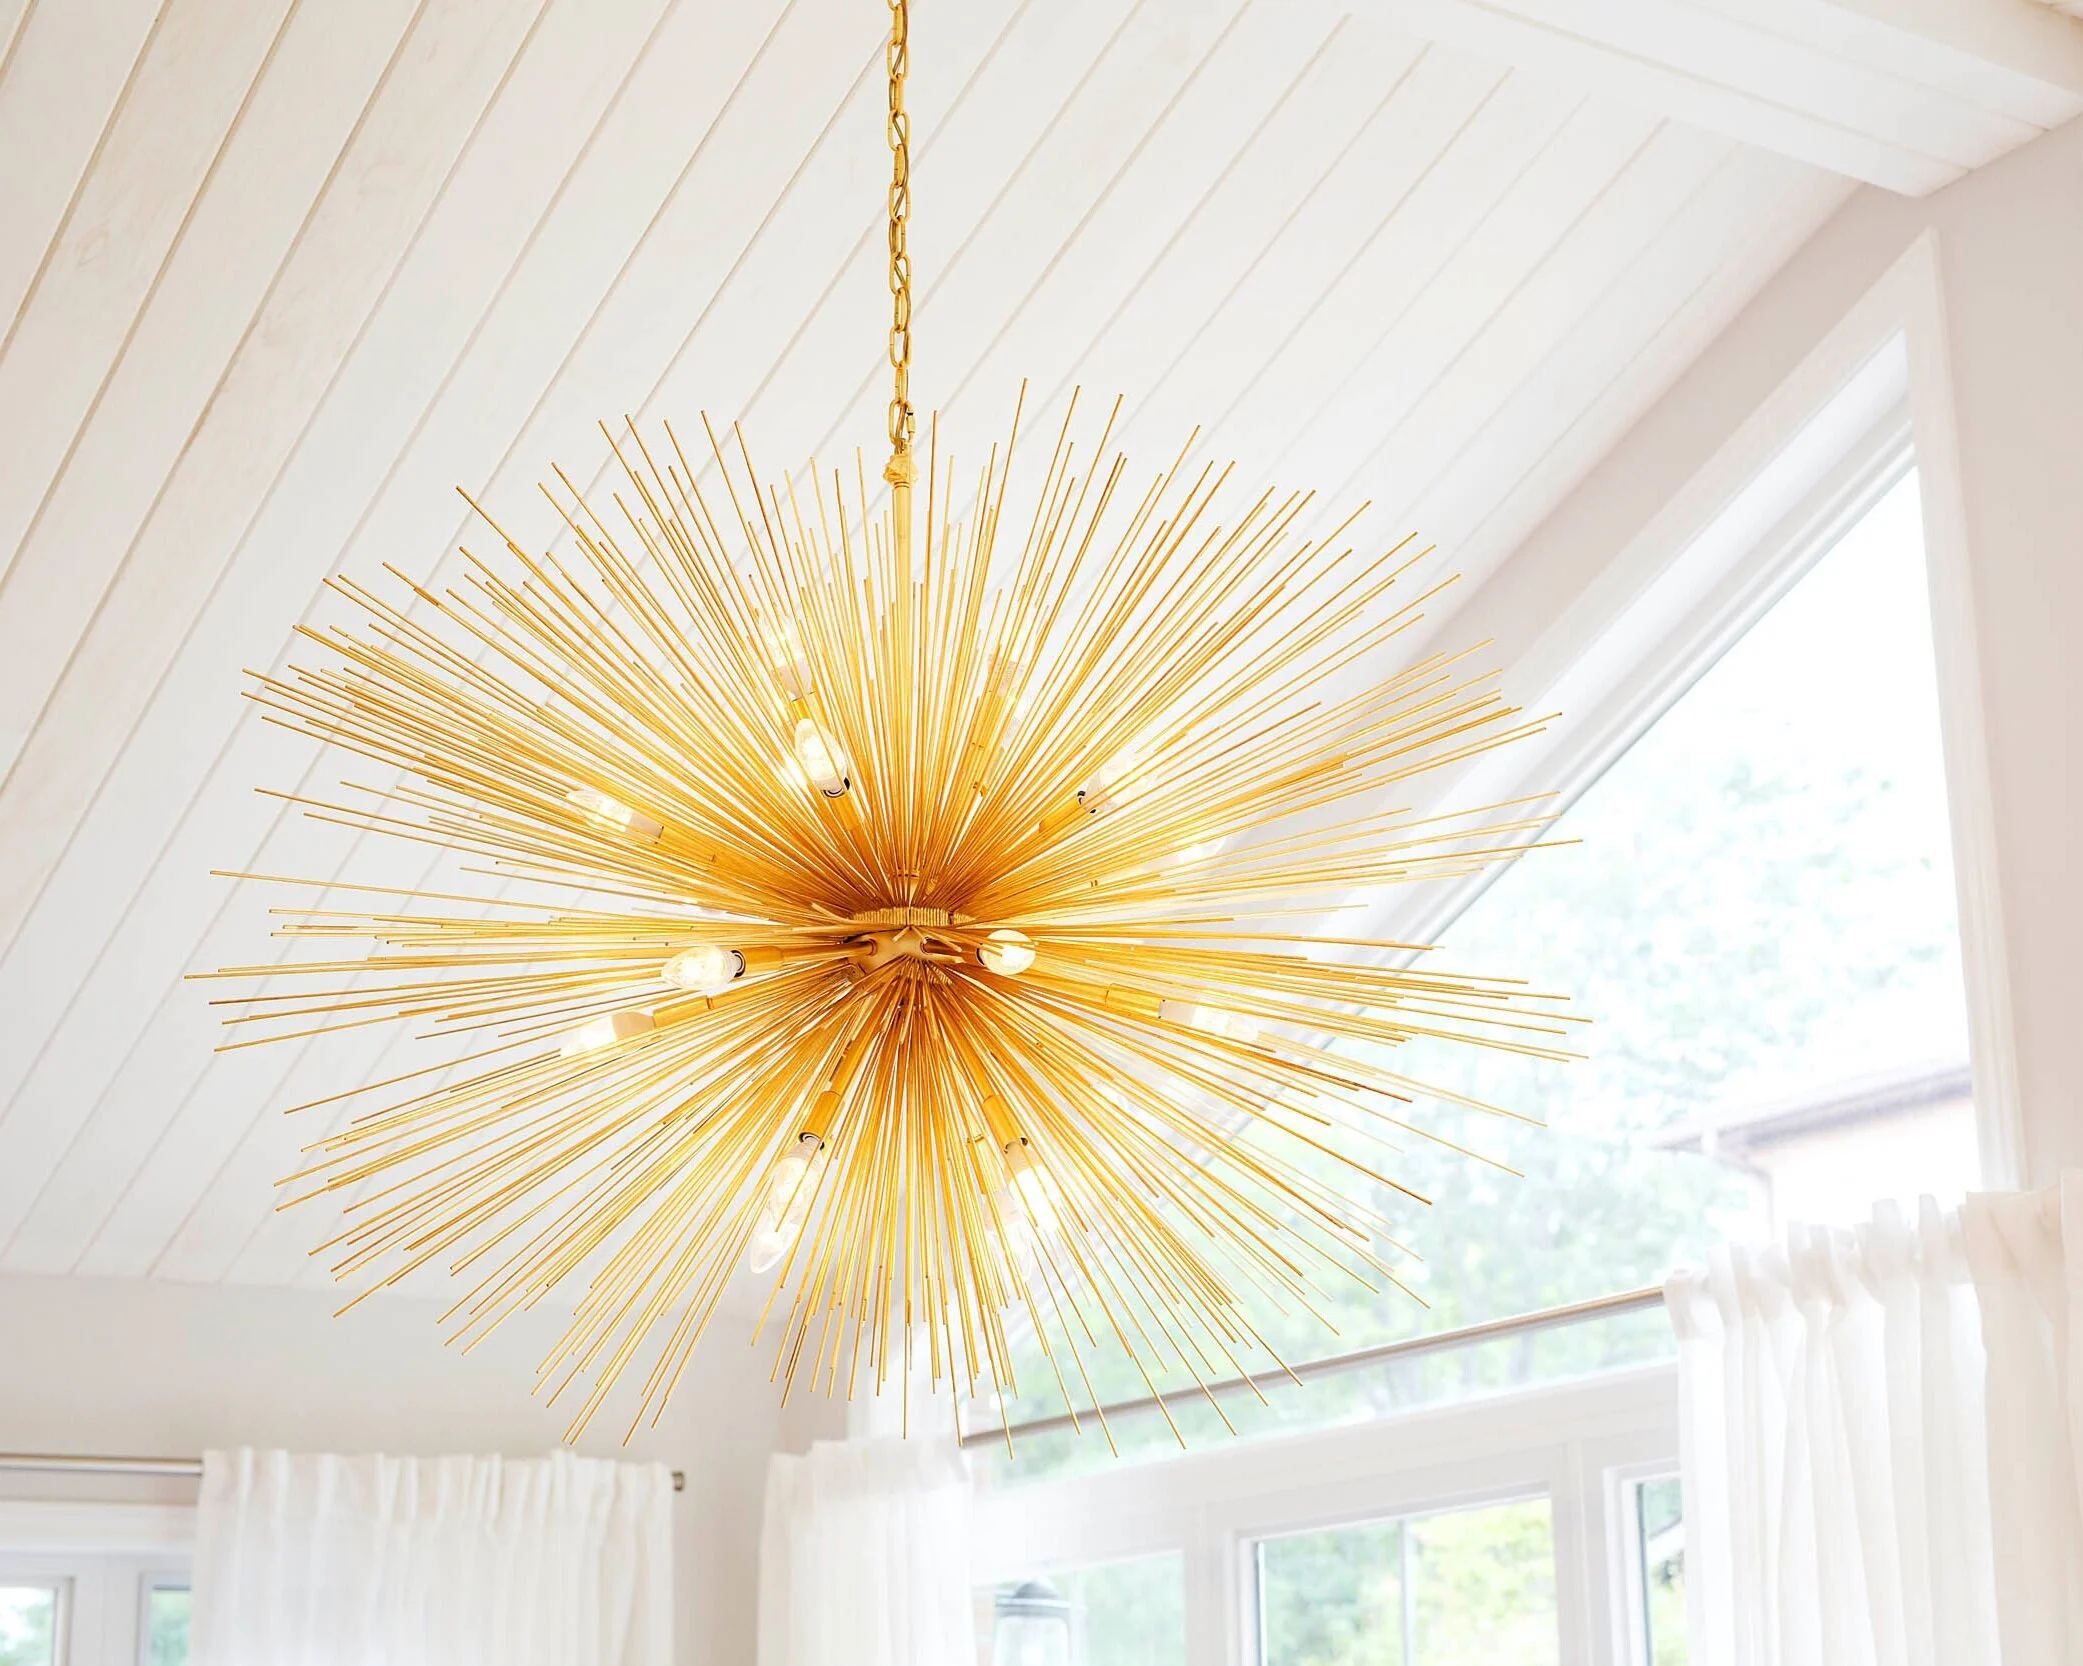
Mid-Size Items - Adding larger items like pillows, dinnerware, vases & artwork creates more atmosphere and adds dimension.
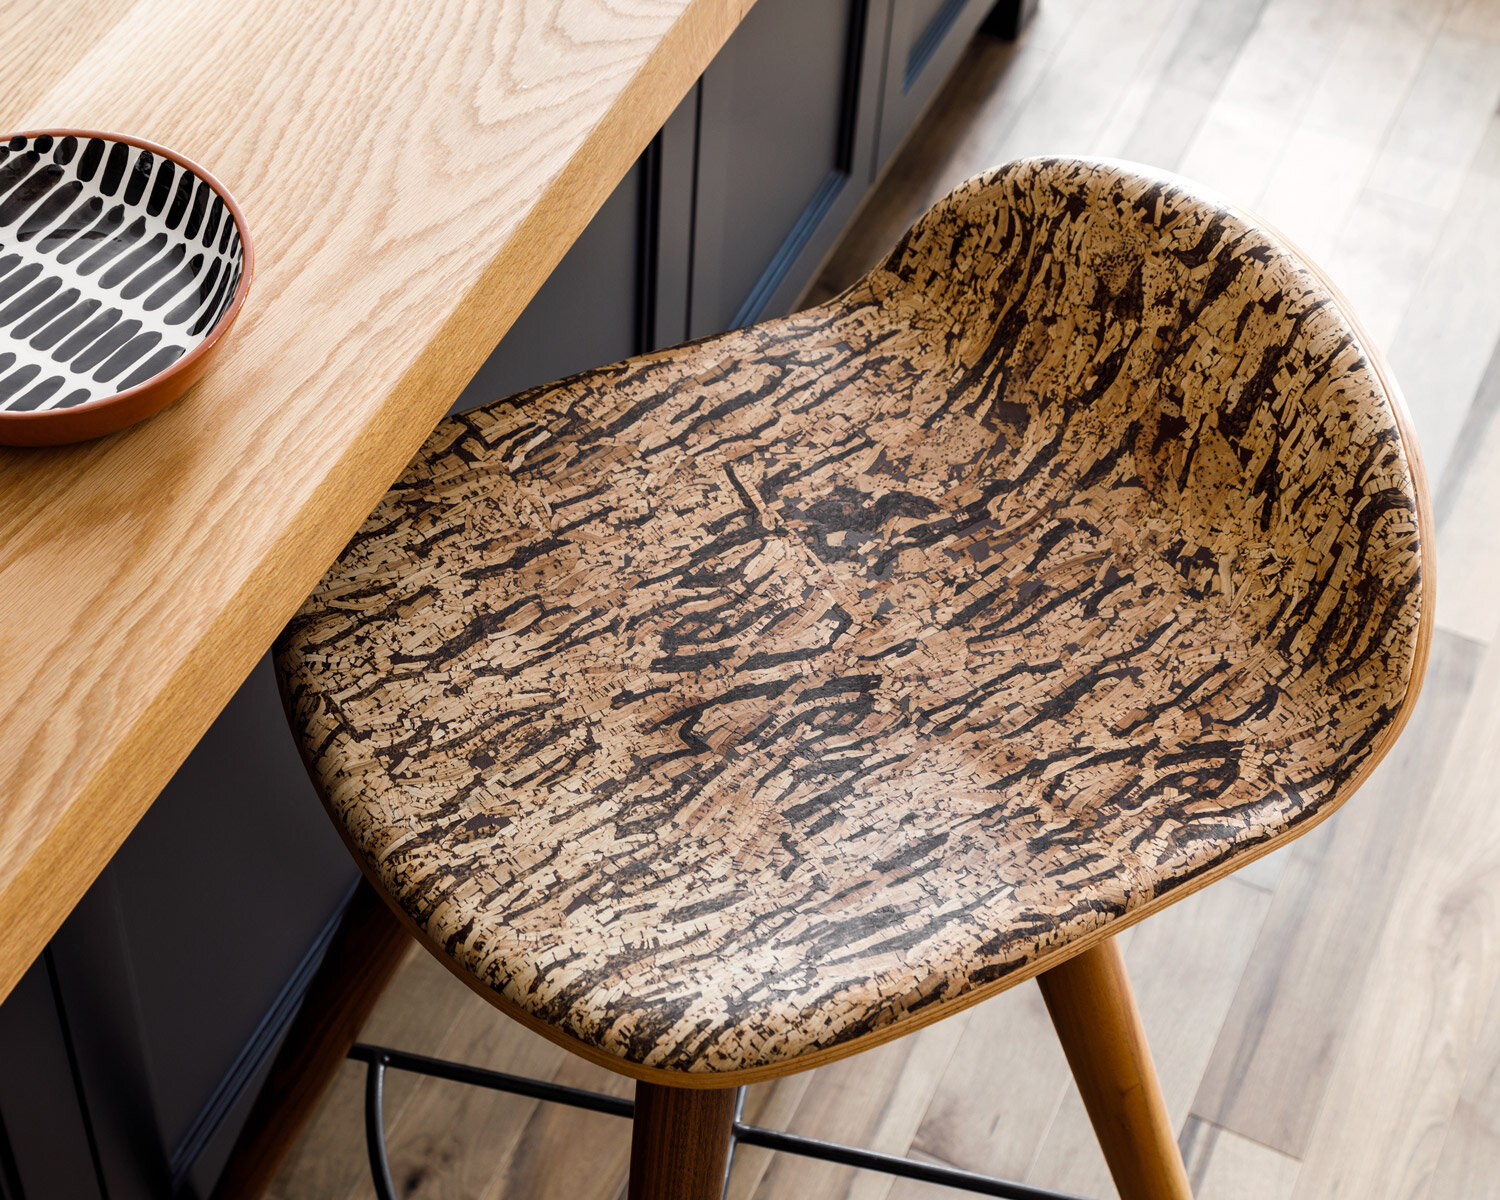
Large Items - If you’re working with a large space there may be a need for furniture, appliances and even larger works of art.
People or No People, That is the Question
With the inanimate objects out of the way, it’s time to consider if you want people in your photos. It’s not always necessary, but your space may need a person or two to make the images come alive. Even one or two people you know, with some outfit changes, can liven up the space exponentially to make it feel authentic, give it a sense of purpose, and convey the scale.
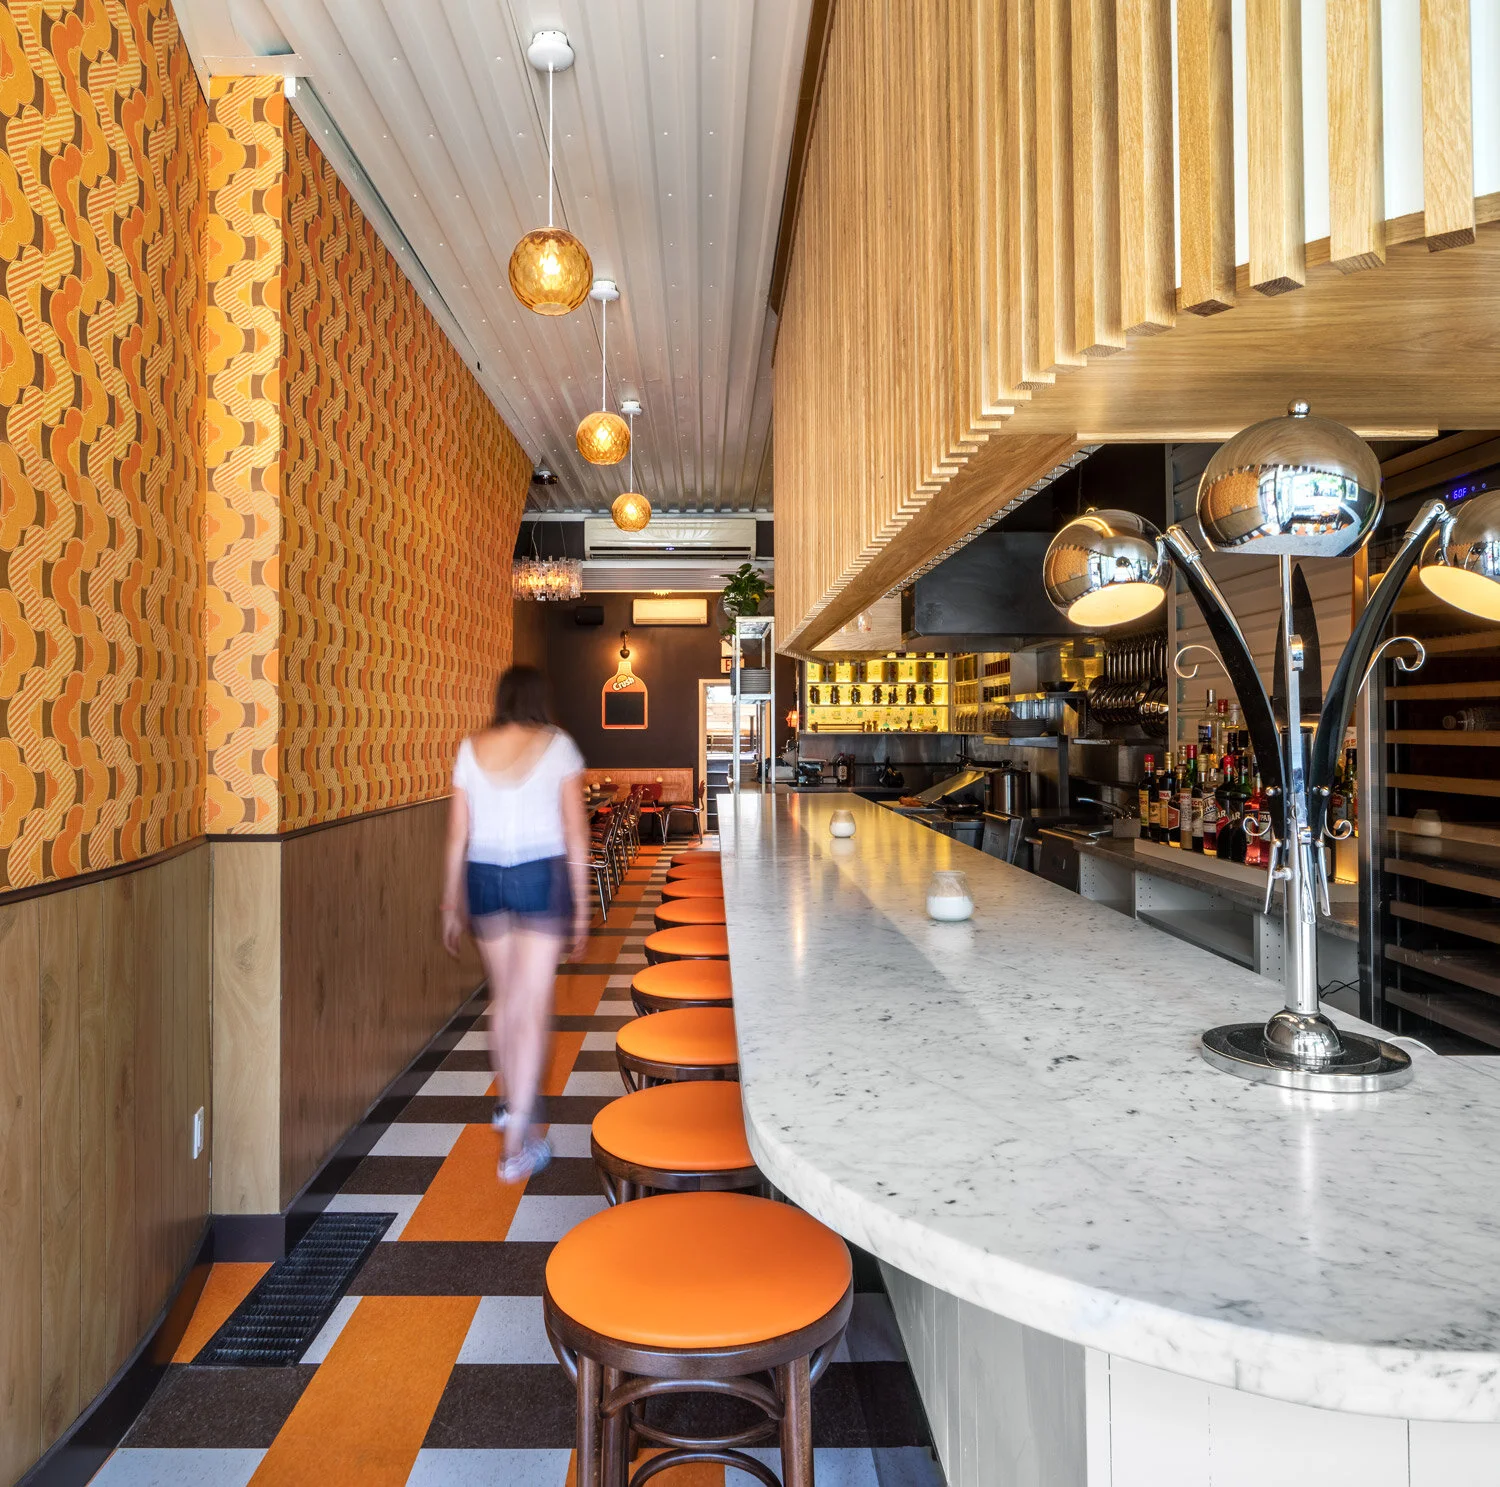
For larger productions, like ad campaigns, our clients often go with a crew of hired talent (industry speak for actors and models) to populate the space. Hiring professional talent means a higher cost, but you will have more control and more natural expressions from experienced talent. When looking for people to be included in the photographs (especially if you’re pulling friends and co-workers to volunteer) it’s important to know that the shoot is going to be a long day with a lot of waiting. But with the right positive attitude, it can be a fun time!
Once the images have been captured we will head back to Worker Bee HQ to touch things up and deliver to you beautiful photographs that are going to tell the story of your amazing space.
We hope this information has been helpful, getting ready for an interior photoshoot might seem daunting but we guarantee all of that hard work you put into planning and preparing will pay off. If you have any questions please send us an email at hello@workerbeesupply.com and we’ll be happy to answer them!
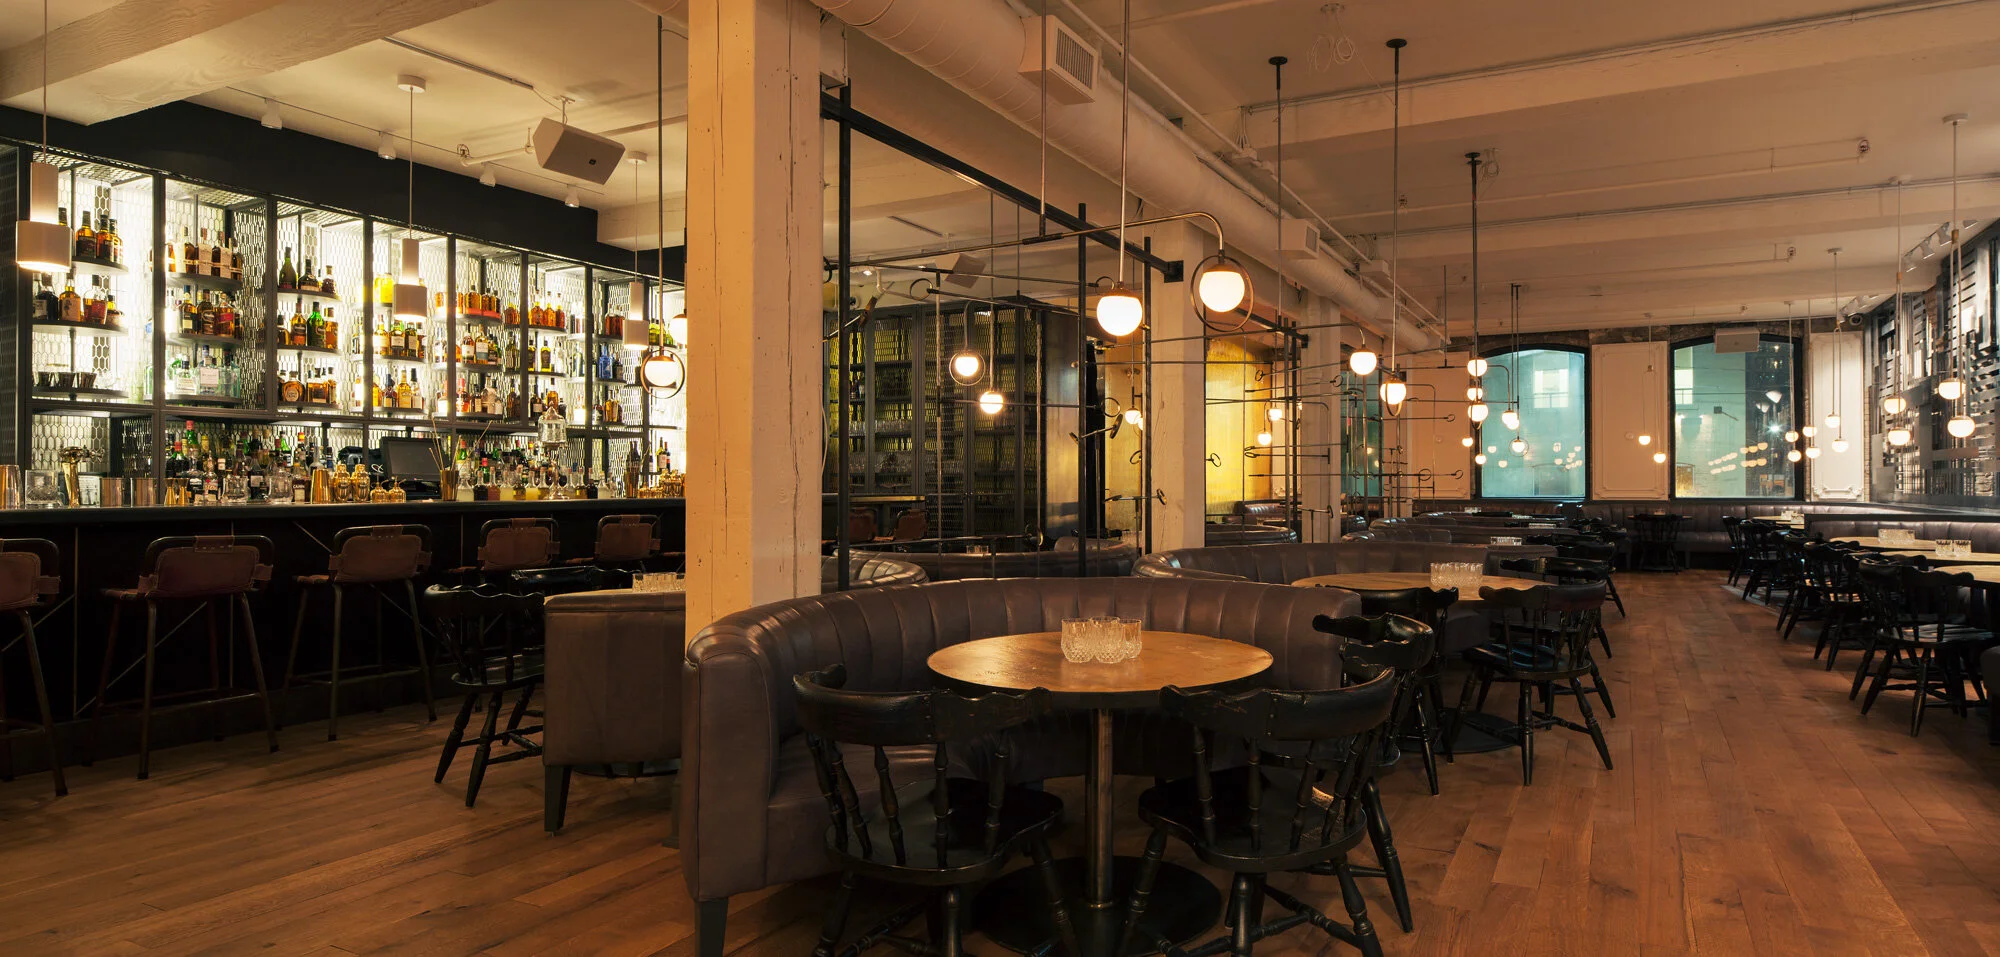
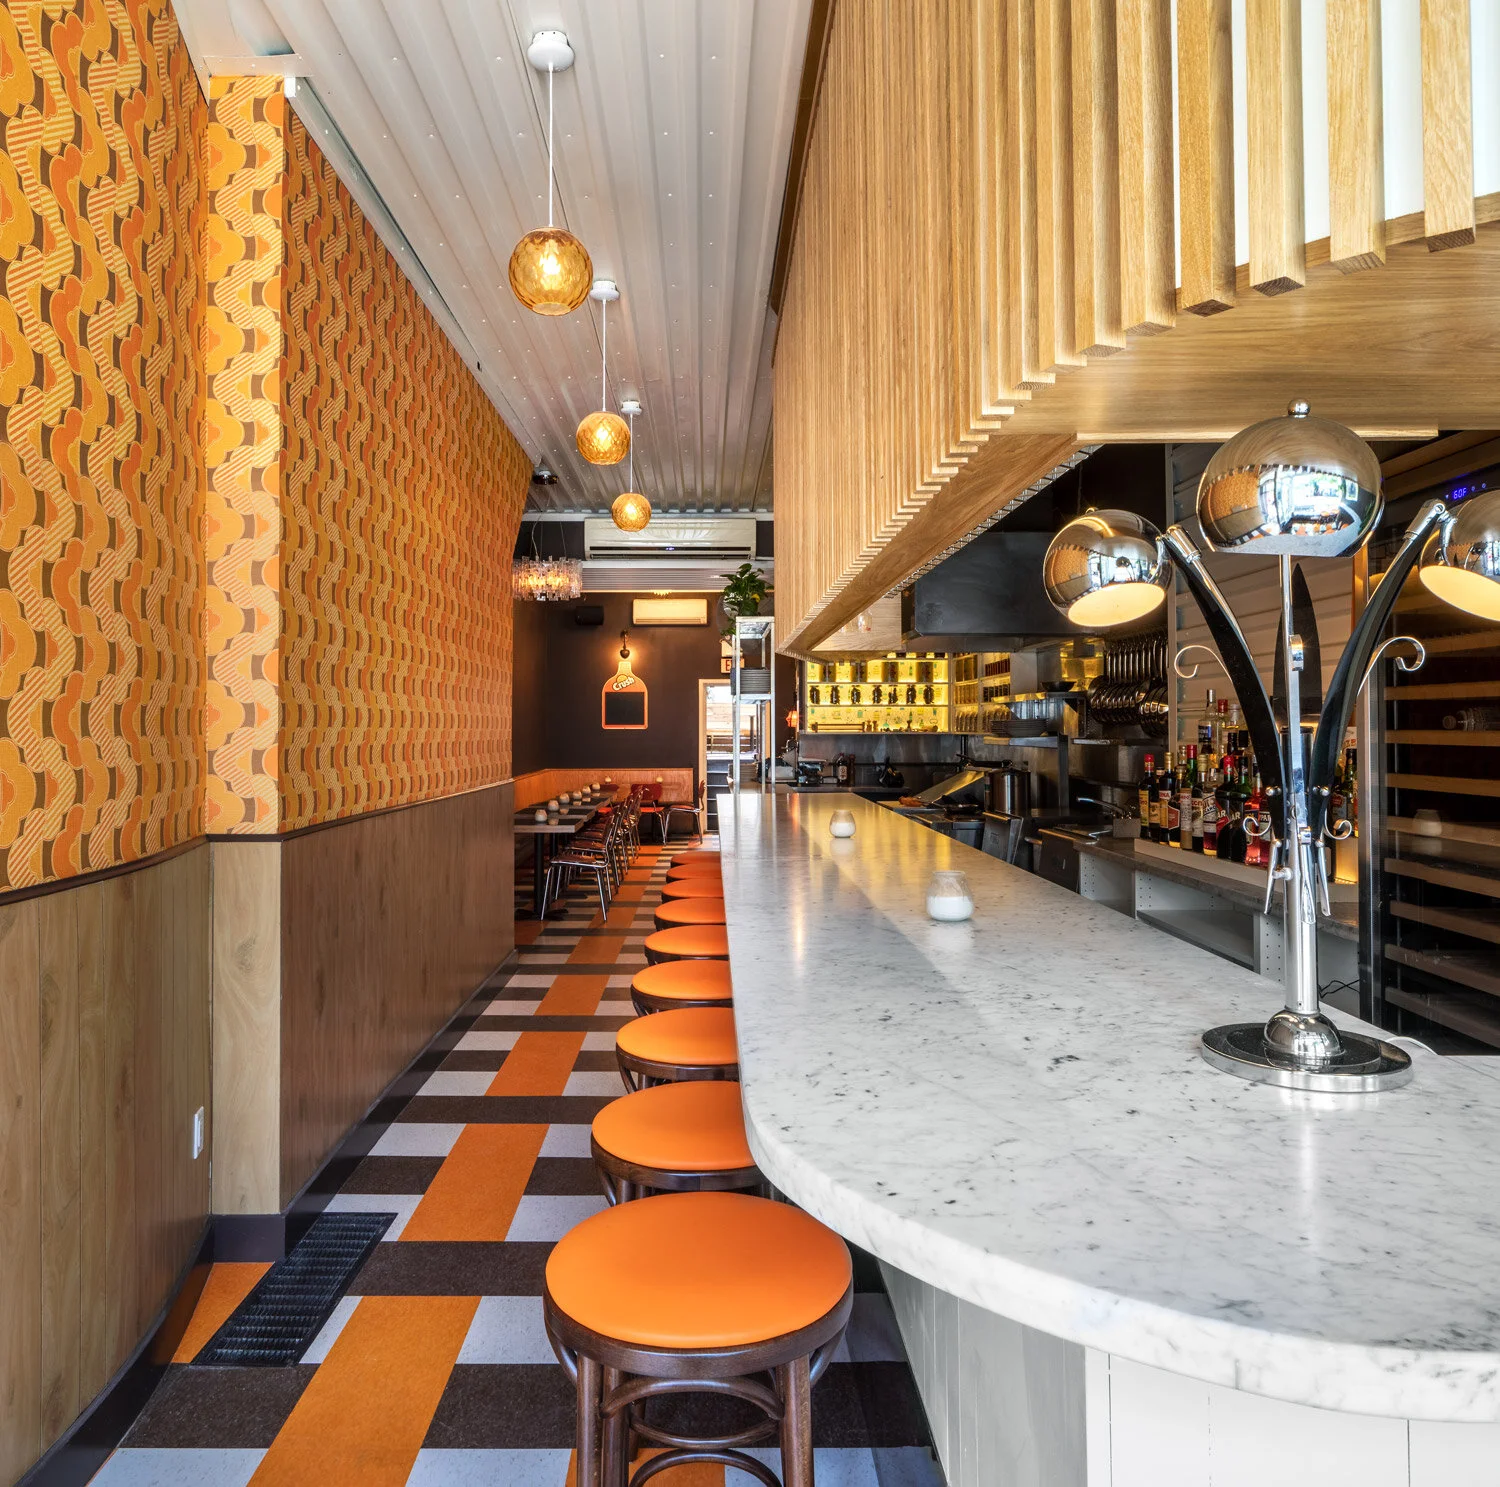
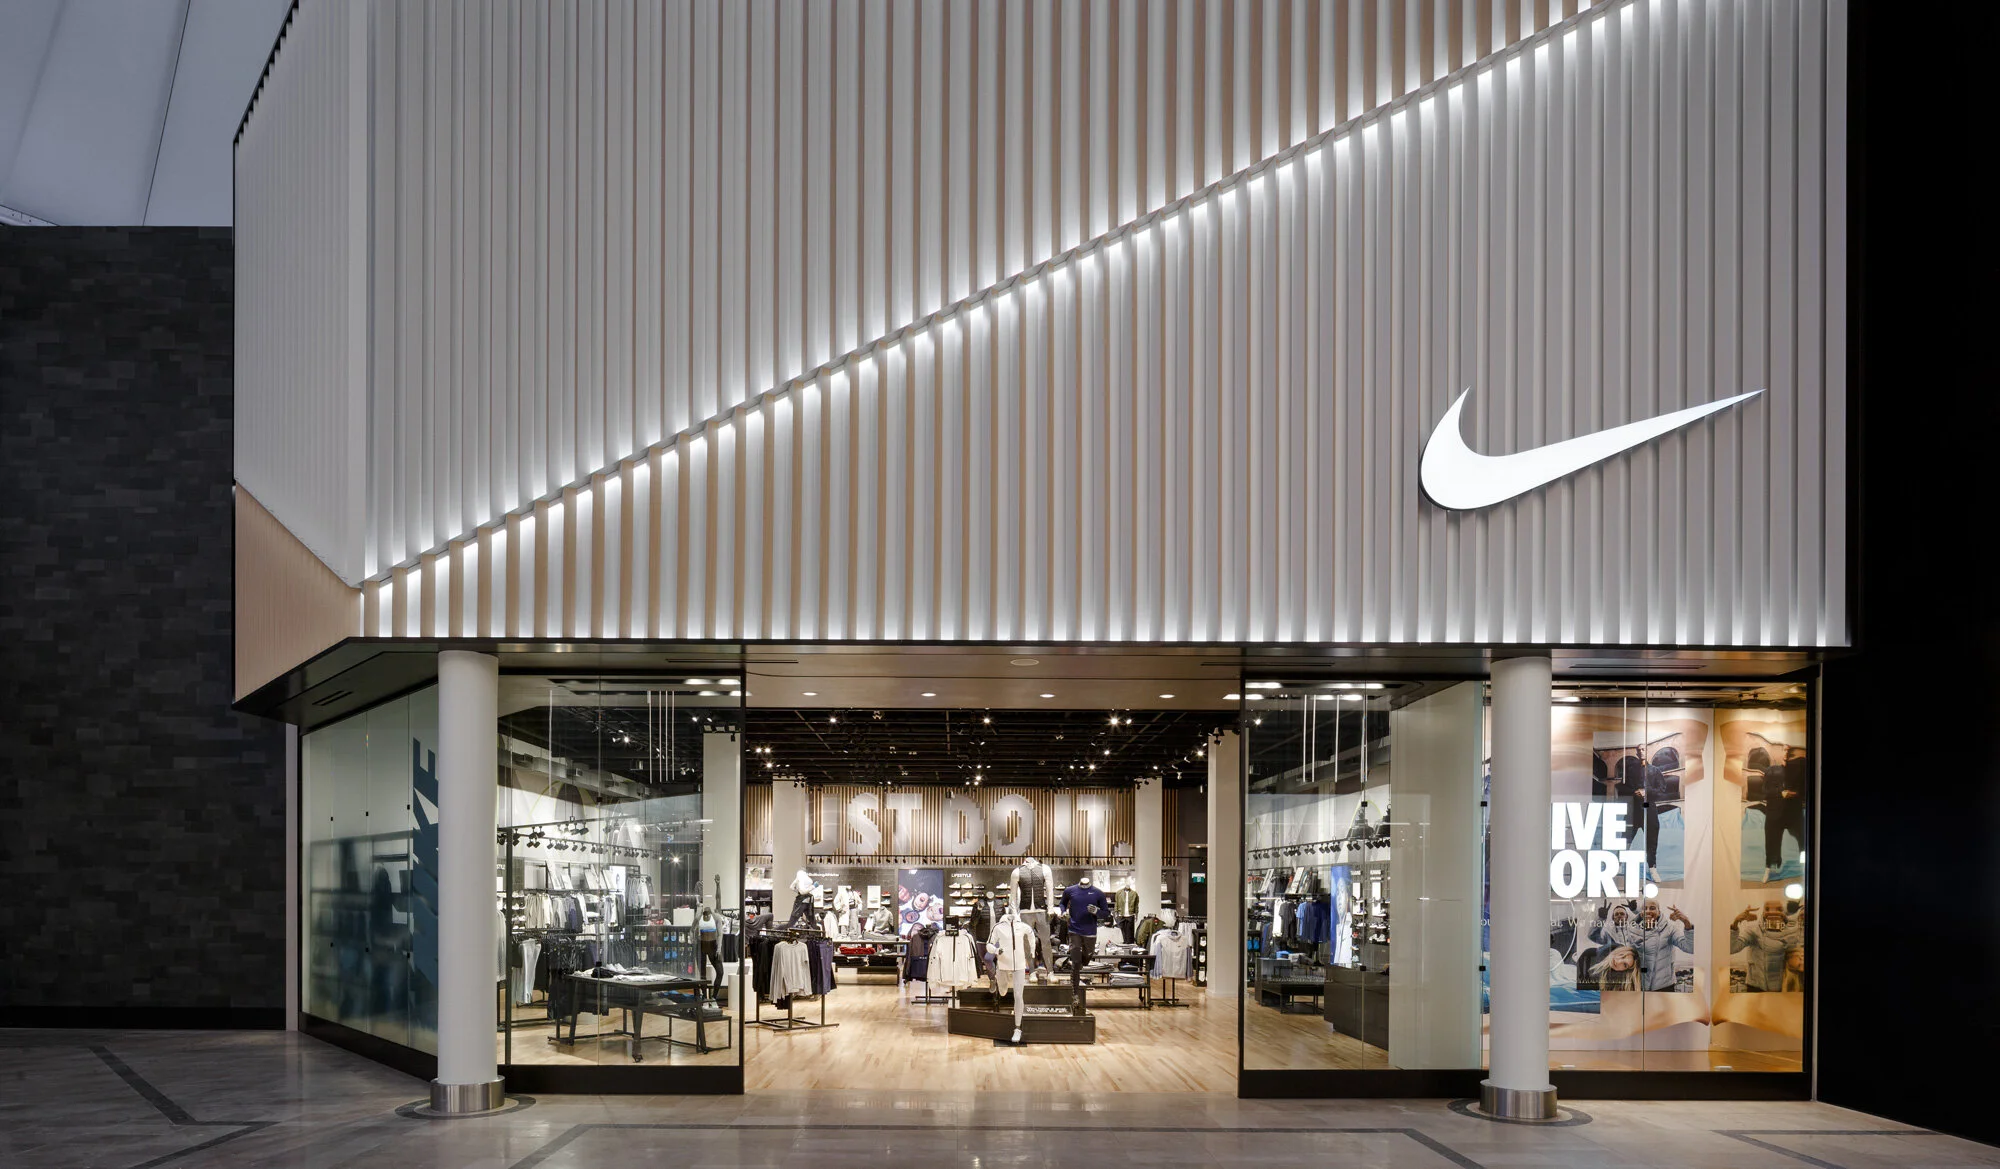
Interested in seeing our Interior Photography? Take a look at the projects below.